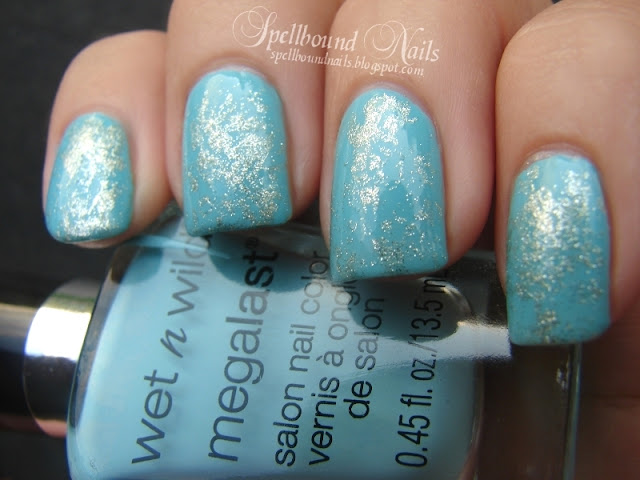
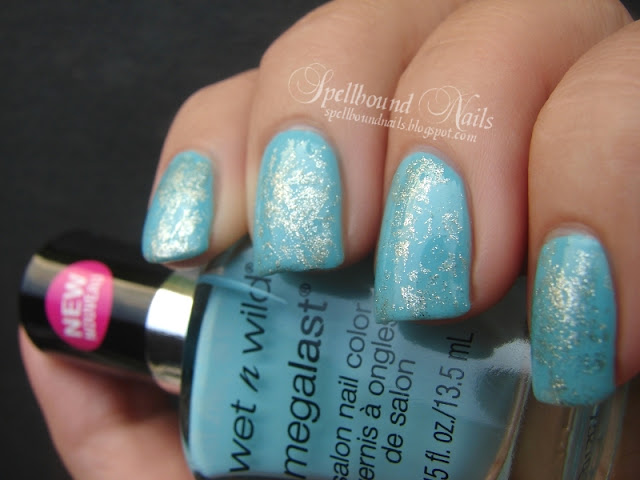
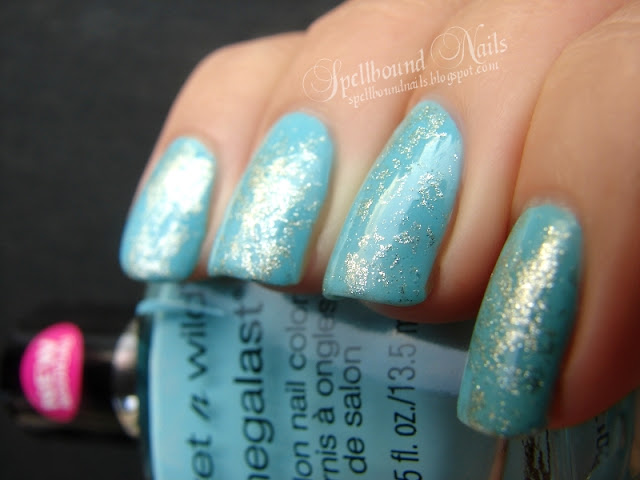
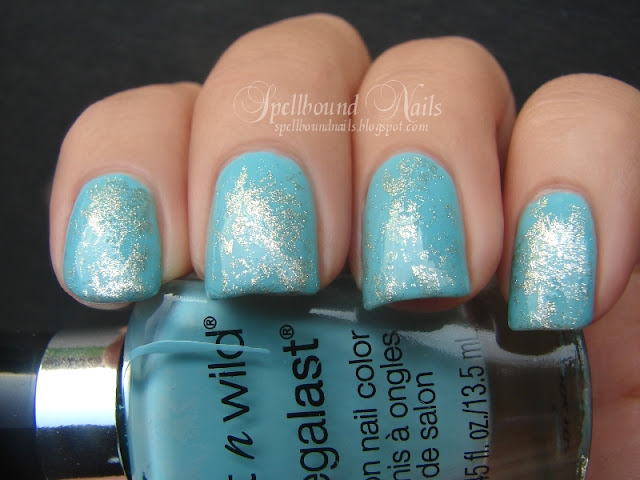
Turquoise Gemstone Nails
Hello again! I know, I know, I'm posting this a bit later than usual; it's been a busy day. I won't bore you with the details, but I will say that my nails are the same length they started the day and my basement is much cleaner. :)Today's post was inspired by turquoise gemstones and uses a method I've never tried before.
When I saw plastic wrap sponging mentioned on a blog I thought the outcome was pretty but it didn't intrigue me too terribly much. For those who haven't heard of this method, you take a piece of plastic wrap and crinkle it to create a pattern. After that simply dip a bit of the crinkled plastic wrap into some nail polish and dab it onto your nails like using a sponge. You can dab first onto a piece of paper to make sure you like the pattern created. I thought it was a very innovative use for plastic wrap but wasn't really interested in trying this method. However, when I caught a glimpse of a nail design on Pinterest using this method I knew it was something I had to try.
For those of you who know your gemstones you'll notice the big mistake with my turquoise. I started with a two coat base of Wet n Wild's I Need a Refresh-Mint. I thought this made a great gemstone base, and I like to think I was right.
However, the problem came about when I decided to use Sally Hansen Antiqued Gold for the gemstone's veining. Antiqued Gold is one of Sally Hansen's crackle top coats and is a (slightly less bright) match to the gold veining found in a lot of turquoise gems. I thought using a crackle would help add to the pattern using plastic wrap creates. It was perfect ... except that in small amounts Antiqued Gold isn't gold; it's SILVER! So, while the outcome was still very pretty, it wasn't exactly what I had in mind from the start.
Still, I got to try something new and that's always great fun!!


0 comments: