Showing posts with label nails inc. Show all posts

Nails Inc. Polishes Review

Hey everyone! Apologies that it's been a few days since I've posted, I've been revising constantly, and yesterday (Friday) I passed my driving test (yay!) so I went out for a meal in the evening to celebrate and never got around to posting. I probably wouldn't have actually managed to get this up today if it hadn't been for my boyfriend, who very kindly edited all these pictures for me because I didn't have time. He's been offering to edit for a while now and I've struggled to let go of the reigns, but he didn't an awesome job so I think he's going to find himself bombarded with pictures now!

Exams aren't very far away now, so only one week and 2 days and my schedule should return to usual. I'm really sorry it's not been great for the past few weeks but hopefully you understand. I have a couple of posts in the 'vault' so to speak and I'll have a guest post from the lovely Amelia this week for you too which will be great I'm sure!

So today's post is a bit of a mix and match review with a few polishes from Nails inc. They're all from a variety of collections, but they work surprisingly well together. I love Nails inc. polishes and I'm really glad I got these to review because they're all amazing quality as usual, as you will see below! Full review will be after the jump


First up is St. Martins Lane*, which is a gorgeous burgundy colour. I absolutely love burgundy polishes and this certainly doesn't disappoint, this was 2 coats without topcoat.


Next is Hampstead Court* from the Fibre Optic collection. I'm not really a fan of bar glitter, but this is actually a really manageable polish and it looks really great. This was just one coat over St. Martins Lane*, without topcoat


Chiswick Park* is a lovely purple shade created for QVC for their 20th anniversary. It's part of a duo with Kensington Caviar Topcoat*, shown below. As you can see it dries with an almost matte texture, which (unsurprisingly considering my matte obsession) I love. This was 2 coats without topcoat, although I feel perhaps 3 might have been better to equal it out


This is Chiswick Park* with 1 coat of Kensington Caviar topcoat*. It dried relatively fast and is really shiny, quite a good topcoat in comparison to a lot on the market but I'm slightly off put by the orange colour of the topcoat. Something about coloured topcoats really dishearten me for some reason! 


Next is St. James* which is from the Gel Effect collection. This polish is amazing, this was just one coat without topcoat, and it's completely opaque, super shiny and dried really fast. I don't have a bad word to say about this polish. 


And last but certainly not least is Buckingham Court* from the Galaxy collection, this polish is so cool. It definitely reminds me of a galaxy, and it looks great. This was 1 coat over St. James*, but I needed a slight amount of placement, and no topcoat.


What do you think? Let me know in the comments!
Alice

QVC Spring/Summer 2014 Press Event

Hey everyone! The other day I went to London, to work on something awesome for Clothes Show Live TV, and I thought whilst I was there I may as well pop along to the QVC Spring/Summer 2014 Press Event, and I'm so glad I did. There was so many beautiful things, and I got a gorgeous hand massage from Gatineau. I also got to eat some amazing cakes, and I may have had a few sneaky Thorntons fudges. I definitely feel that it would have been worth going even if I hadn't already been in London for the day. Unfortunately I completely forgot to bring my camera, so all the photos I have are from my phone, hopefully it wont be too noticeable! 


The event was set out in a gorgeous house in central London. From what I overheard it isn't actually someone's house, but nevertheless it was still gorgeous. I did of course head straight for the nail varnish/beauty area (after first going the wrong direction and ending up with the gardening equipment!)


There was an amazing selection of handbags and clothes upstairs alongside the beauty products, and just to the left of this was where I got my fabulous hand massage from Gatineau (this was definitely the best floor)


There was also a fab selection of home decorations, which I may well get my hands on for my new flat next year!


Look how beautiful the venue was! I definitely wish I had that window


There was also an amazing selection of cakes and biscuits. By this point in the day I hadn't eaten for over 8 hours, so I may have scoffed one of the cakes ... or two ... and some fudge. So worth it!


At the end of the event we were given an incredibly generous goody bag (which unfortunately I didn't manage to get a very good shot of before I devoured the marshmallows!), and I couldn't wait to unpack it. I got some very odd looks in Pizza Express emptying a bag of cosmetics onto the seat beside me, no regrets.

Do you see anything that catches your eye? There's definitely a few nail varnishes I have my eye on, just in case I 'need' some more.

Don't forget to enter my giveaway if you haven't already!
Alice

Matte christmas nails!

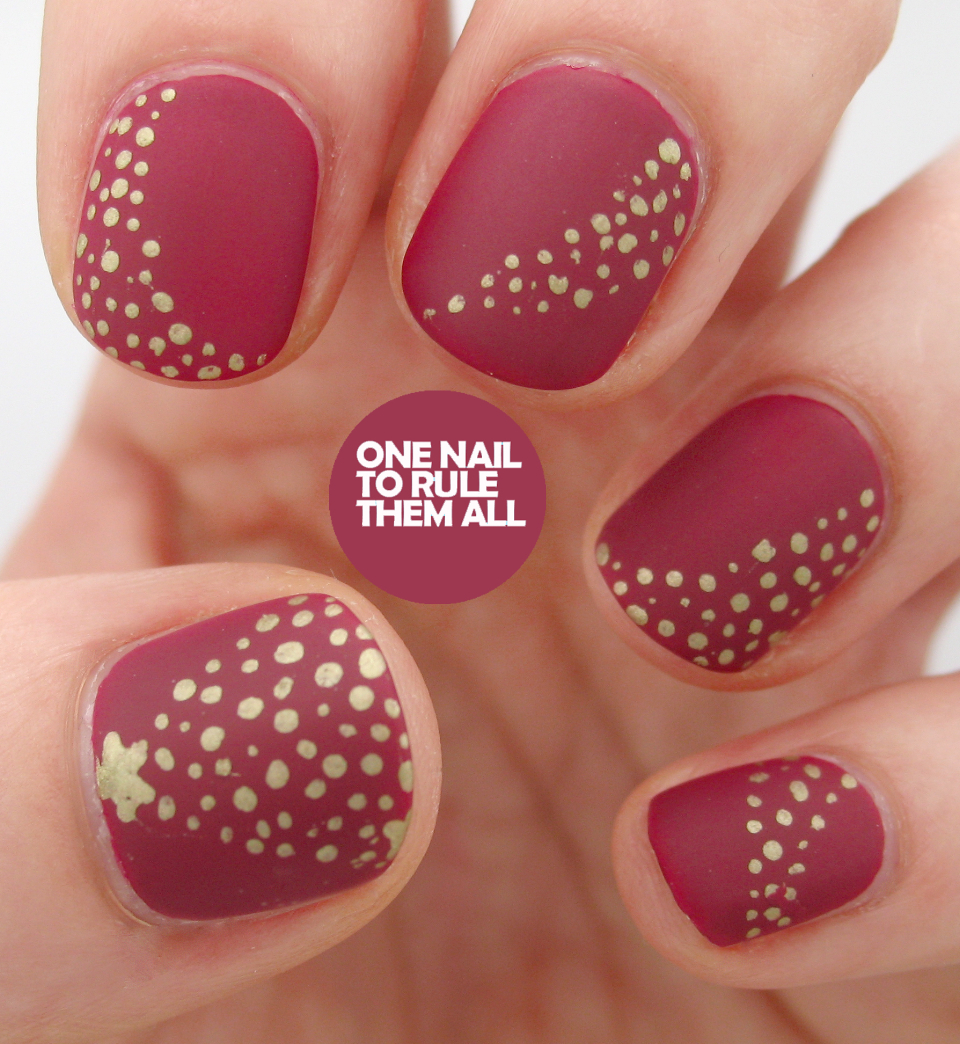
Hey everyone, I had the idea originally of doing these nails with studs, and then I thought perhaps studs and gold dots, and then once I'd just done the dots I quite liked them as they were, especially as they'd somehow developed to have a tree, so I added a (wonky) star on my thumb and topped with one coat of seche vite. Then I went to photograph them and no matter what I tried they looked AWFUL, the way the light was shining made them look streaky and awful so of course I decided to whack out the matte and make photographing 1000x easier (any excuse) and I actually do really like them like this, so I hope you do too!


I used a base of Nails Inc Hampstead Heath and Barry M gold foil to create the nail art and the matte top coat was one by Rimmel which doesn't have a specific name.


What do you think? Let me know in the comments!
Alice


Nude flowers/return of the matte attack

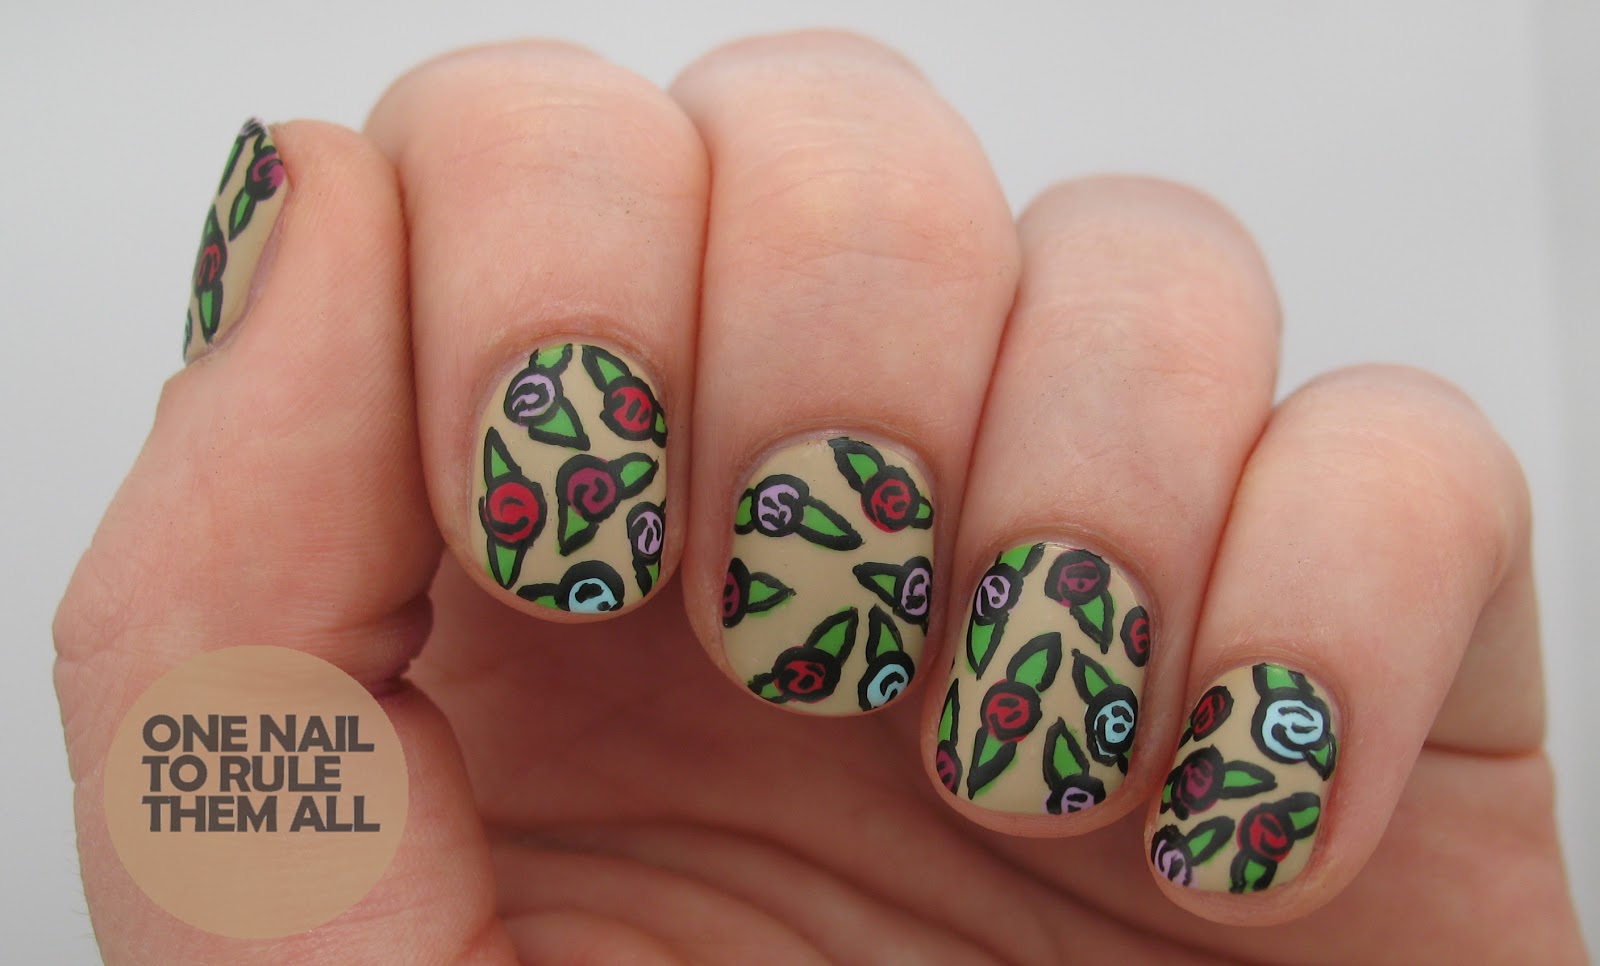
Hi girls! I wasn't actually going to post today, but then I saw this lovely post on instagram and I just had to do it. You all know my love of matte nails so of course it was instantly appealing to me, and as soon as I got back from university I sat down and started on them. They were relatively easy to complete, I've just cut one of my small brushes down even smaller, it was my first time doing it and I think it could actually do with being smaller but it will do for now, and so I wanted to use it for a bit of outlining to see how it looked.


Firstly I painted my nails nude using Nails Inc 'great pulteney street' from the colour burst set (can you tell I love that set yet? haha) and then I used a dotting tool to place random dots of Barry M - Berry, Barry M - Red, Unnamed dark purple No 7 (no label, boo!) and Models Own - Blooboo. Then I used a small brush (not the cut down one) to paint on the leaves in China Glaze - Gaga for green, and then I outlined it all in black acrylic paint and a very small brush


I've always loved the look of things outlined in black (especially when it's matte), what do you think? Let me know in the comments! 

Alice


Then And Now: Week 1

Hey everyone! Today I have the first installment of 'then and now'. I can't remember exactly when I did these nails but I'd say it was around 2 years ago, and I'm hoping my skills have improved in that time! If any of you have any old photos lying around and want to have a go at the 'challenge', please do :D

Apparently I also didn't know how to colour coordinate then either, because these flowers are crazy, but I enjoyed doing such a bright and colourful design. I find that I struggle for inspiration more than I did then, I didn't need much to give me a design and I wish I could still have that, even if the designs were a little mad! The original design was created doing a dotting tool, I only remember that because that's all I ever used then, a set of dotting tools was one of the first things I bought and I used nothing else until about 6 months ago when I decided to try using brushes in this post. As I've mentioned before, I'm still not very confident with brushes, so sometimes I will turn back to my trusty dotting tools, but not this time, I know now that it's a lot quicker to use the brush from the nail varnish to create big flowers like this, so that's what I did. I then used a dotting tool for the dots and specks within the flowers. Original picture after the jump!


For the base colours I used Nails Inc - 'grosvenor crescent' for the pink and Nail Inc - 'putney bridge' for the purple. Both went on in one coat which is awesome, and I'm definitely glad I spent £30 on a set of 10 (oops). 
Then I used Nails Inc - 'hyde park gate' for the green flowers, a mixture of Barry M - yellow and a tiny bit of Barry M - matt white for the yellow flowers, and China Glaze - refresh mint for the blue flowers.
For the white spots I used Barry M - matt white, and for the black specks I used acrylic paint

I told you the pictures were horrendous! 


I hope you liked my first 'Then and Now' post, the next installment shall be next Saturday!
Alice