Hi everyone! My manicure today was inspired by one of my favourite things... Cocktails! I love cocktails because not only do they taste amazing, but they look amazing too. So much care is taken in the preparation, and they're always really bright and pretty and packed with fruit and straws and umbrellas and what-not. Anyway, I decided to recreate some of the most popular cocktails on my nails - Sex on the Beach (yes, I said sex on my blog), Appletini (for all the Scrubs fans out there!), Raspberry/Strawberry Daiquiri, Blue Lagoon, and a Lemon Drop. Unfortunately I had neither the time nor the patience to create a step-by-step tutorial, but I've still included lots of photos and a few explanations.
The equipment:
Jacava 'Mont Blanc'*
Jacava 'Chillax'*
Models Own 'Utopia'
Models Own 'Pastel Pink'
Models Own 'Fuzzy Peach'
e.l.f. 'Mango Madness'
e.l.f. 'Dream Maker'
Barry M 'Bright Yellow'
Barry M 'Shocking Pink'
Basic red
W7 'Neon Green'
No. 7 'Totally Teal'
L'Oreal 'Perle de Jade'
Sinful Colors 'Unicorn'
Models Own black nail art pen
Fine nail art paint brush
I used Jacava 'Mont Blanc'* for the base of my manicure, as I wanted to ensure that the cocktails stood out. I also chose to avoid black outlines, as sometimes it can be too heavy and ruin the final effect. Instead, I stuck to bright colours and carefully painted them on with my paint brush. For my Sex on the Beach thumb nail, I used e.l.f. 'Mango Madness' for the bottom of the drink and blended up into Barry M 'Bright Yellow'. Then I added a strawberry for garnish, and two straws using the striping brush end of my black nail art pen.

I used W7 'Neon Green' blending into Sinful Colors 'Unicorn' for the Appletini, then added cherries on cocktail sticks and a straw. For the Daiquiri, I blended red into Models Own 'Pastel Pink', and added a kiwi for garnish. I used Jacava 'Chillax'* for the Blue Lagoon, and blended it up into L'Oreal 'Perle de Jade', and along with a little cherry I painted a pink and yellow cocktail umbrella. Finally, for the Lemon Drop, I blended Models Own 'Fuzzy Peach' into 'Unicorn' again, and then added an orange slice. For the stems of the glasses I painted thin strips of Models Own 'Utopia', and left the middle bit white so it looks shiny.
I decided to create pieces of ice (not really visible in this photo, ooops) using e.l.f. 'Dream Maker', and painted it on the tops of the cocktails before separately applying the larger bits of glitter. This adds a little bit of sparkle to the manicure!
You wouldn't believe how difficult it is to photograph nails while holding a wine glass. This is my poor effort at a 'cocktail' (it's actually cranberry juice). But imagine how cool the photo would be if it was an actual, professional cocktail? Or even the same cocktail that's on my nail? Oh well, the thought was there...
Anyway, here's another photo of the full set. I'm glad I decided to use a mixture of colours, as it makes it all the more interesting. I'm also pleased I managed to sneak a little kiwi into the design, as it's the simplest but most effective fruit in nail art! I'd love to know what you think of my cocktail nails, so just drop a comment below :)
Hey everyone! Today I have a quick review of the recently released
Models Own Fruit Pastel Collection. I know you've probably seen these around already but for those who haven't this is a collection of scented pastels based around food, and I absolutely love them! The rest of the review will be after the jump because it's going to be a pretty long post if not.
First up is 'Banana Split', a gorgeous lemon pastel. This was 3 coats with no top coat.
 |
| Banana Split - Models Own |
 |
| Banana Split - Models Own |
Next up is 'Blueberry Muffin', which is the most perfect light blue I've ever seen, I love this SO much. This again was 3 coats
 |
| Models Own - Blueberry Muffin |
 |
| Models Own - Blueberry Muffin |
And finally, 'Strawberry Tart', this was again 3 coats
I found that whilst I needed 3 coats for all of these polishes, I could have easily got away with 2, especially if I was using them for nail art. They also all smell amazing. I'm sure you all know of my love of pastels, so this is such a perfect collection for me.
These retail for £5 each
here, or you can get the whole collection of 5 polishes for £20
here
What do you think? Do you own/want any of these polishes?
Let me know in the comments!
Alice
Hey everyone! I'm afraid this post is a little bit late because my brand new laptop broke (only a month old) but I took it back today and they gave me a brand new one so HOPEFULLY I should be okay now. 2 broken laptops in just over a month is not how I like exam period to go, or any period of time for that matter!
Anyway, I'm back now and I have the next week of the Seven Deadly Sins challenge for you: wrath. The prompts for this were either 'get mad trying that technique you know is going to be a fail' or 'find something that blows your top and express it with your art' and I decided to combine the two and go with something that really annoys me about nail art/nail polish: the removal of red polish! It seems to get everywhere and I hate it, so I thought I'd go against my hatred and do some nail art with it.
I had this red to review anyway from the lovely Sally over at
Sally Magpies, as she wanted me to let you all (in the UK) know that you can get a wide range of products on her store that are sold abroad usually, which you're all lusting after. For instance, Essence. As I've mentioned before my lovely friend
Emily provided me with a few Essence nail varnishes and it included my new favourite blue: 'that's what I mint' which is luckily
sold at Sally's store, as its already half empty. Anyway, here is the red that Sally gave me, it's called 'redvolution' and along with many other Essence products it's sold
here for just £2.75
This is 2 very easy coats, it's not quite as neon as the picture suggests but it is pretty bright
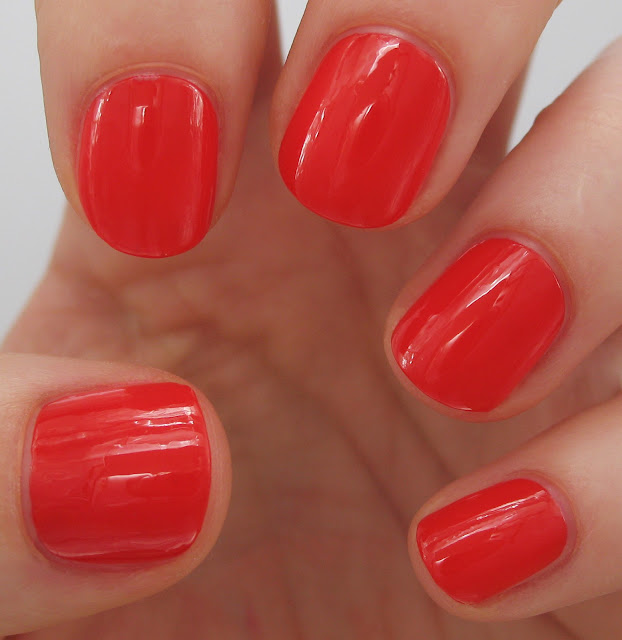 |
| Essence 'Redvolution' |
Of course, I couldn't do that without adding a bit of nail art, so I removed a couple of nails (eugh) and added 'Something Sweet' by China Glaze and added some mini strawberries.
What do you think? Let me know in the comments!
Alice
I've seen so many fantastic fruity nails recently, I couldn't help but have a go! I've always preferred free hand nail art too; tricks like marbling are fun to try, but they're never as satisfying as a set of hand painted nails! I'm especially fond of my kiwi, but the strawberry, pineapple and watermelon are also cute (the orange was a bit of a letdown, but by this point I was getting rather tired and lightheaded from the nail varnish fumes!) I had to use so many different colours for this look, which you can see below...
The equipment:
NYC 'Pinstripe White'
NYC 'Carrie'd Away'
No. 7 'Totally Teal'
Models Own 'Jade Stone'
Models Own 'Nude Beige'
Models Own 'Fuzzy Peach'
Rimmel 'Rose Libertine'
Fearne 'Lemon Drizzle'
Fearne 'Burnt Out'
Missguided 'Misslead'
A classic red polish (a cheapy from a set,
so no brand or name visible!)
Rio black nail art pen
Rio white nail art pen
Rio yellow nail art pen
A fine paintbrush
I began with the base colours. I applied 2 coats of each colour - 'Jade Stone' for my thumb, the classic red for my index finger, 'Lemon Drizzle' for my middle finger, 'Rose Libertine' for my ring finger, and finally 'Fuzzy Peach' to my little finger. Once dry, I topped my orange finger with the sparkly 'Burnt Out', and added the shimmery yellow Missguided polish to my thumbnail. This helped the jade colour to turn more lime green, and therefore more kiwi-ish!
Once my bases were evenly coated and dry, I began the basic details. This involved adding a white centre and a fan effect to my thumb nail (using a cocktail stick, as usual!), and then green tips for the fruit's leaves and peel.
 Again, I wanted to achieve more of a lime green colour, and so topped the tips with the shimmery yellow varnish. Once completely dry, I added more details. I used a dark green - 'Totally Teal' - for the shading on the strawberry, pineapple and orange's leaves, as well as stripes on the watermelon. I then added a slim white rim to the watermelon, separating the green section from the pink, thus creating a 'pith'.
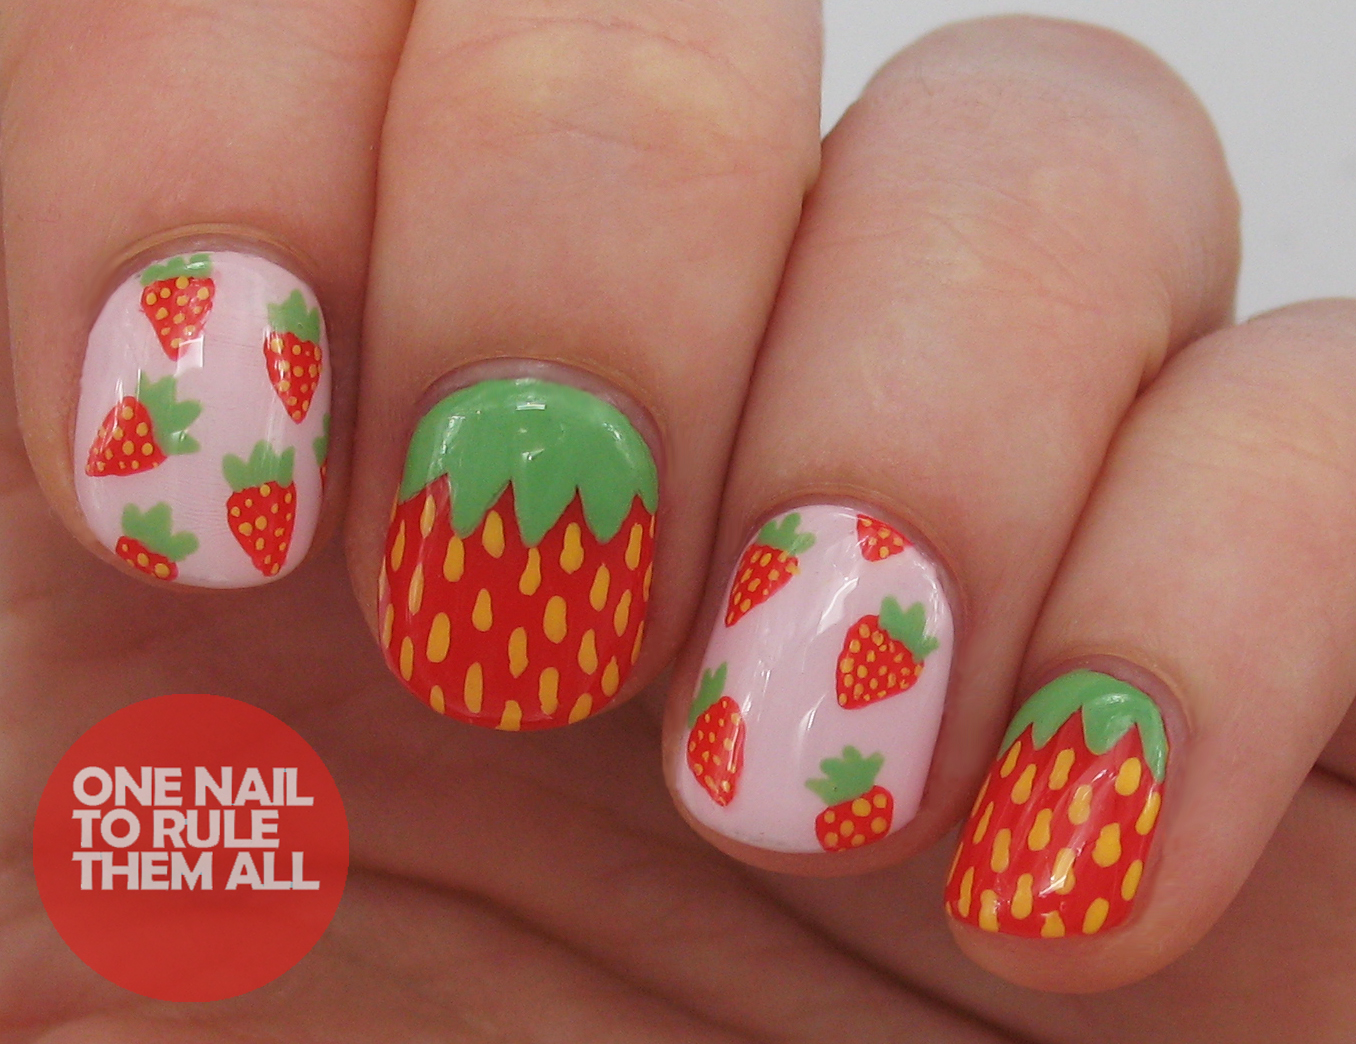
Once my base details were dry, I began the more complex stuff! I carefully added dots to my kiwi, using my black nail art pen, and made sure to vary the sizes and blend some pips together, making it seem more real. I added yellow dots to my strawberry and orange, and larger black dots to my watermelon, before taking my fine paintbrush and adding a crosshatch pattern to my pineapple, using 'Nude Beige' (this would also work with a deeper yellow and/or orange!)
 As usual, once my nails were completely dry (and I mean COMPLETELY dry - black nail art pens seem to be the worst offenders of smudging, so don't let impatience ruin your kiwi!) I applied a top coat. My current favourite is NYC 'Carrie'd Away', as it's got a slightly peachy tint and seems to complement brighter bases. Also, the brush is so soft and broad, you're less likely to smudge :)
So there you go, my fruity nails! As I said before, my kiwi is very close to my heart, and I reckon I'll be attempting a full set of these in the future. I also want to perfect an inside view of lemons, limes and oranges, and maybe create a nail design of citrus sections?


.jpeg)




.jpeg)


