Hello everyone! Welcome to the last installment of my seashell pictorials.
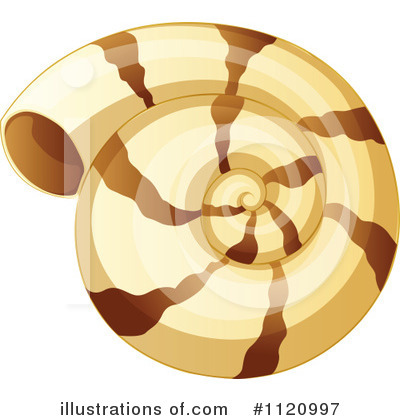
This is the third and final shell and it looks a bit like this:
STEP ONE:
Use a thin paintbrush and black paint/polish to paint a circular pacman looking shape.
(spare me, it's 1:30 AM)
STEP TWO:
Fill in the inside of the shell with a tan paint/polish.
STEP THREE:
Re-outline the shell, be sure to make a swirl inside the shell with the black paint/polish.
STEP FOUR:
Paint thin, short strokes of white paint/polish inside the shell.
STEP FIVE:
Repeat step four but with brown paint/polish. Slightly overlap the two colors.
and that's it!
I hope this was something you guys enjoyed. I'm actually kind of impressed I actually got this all done. I'm kind of the laziest person EVER.
anyway if you guys try this please tag me! I would love to see!
Thanks for reading!
As previously stated, I made pictorials for the shells I did in
this manicure.
I divided them up into three posts because it's a lot to take in.
Here's the first.
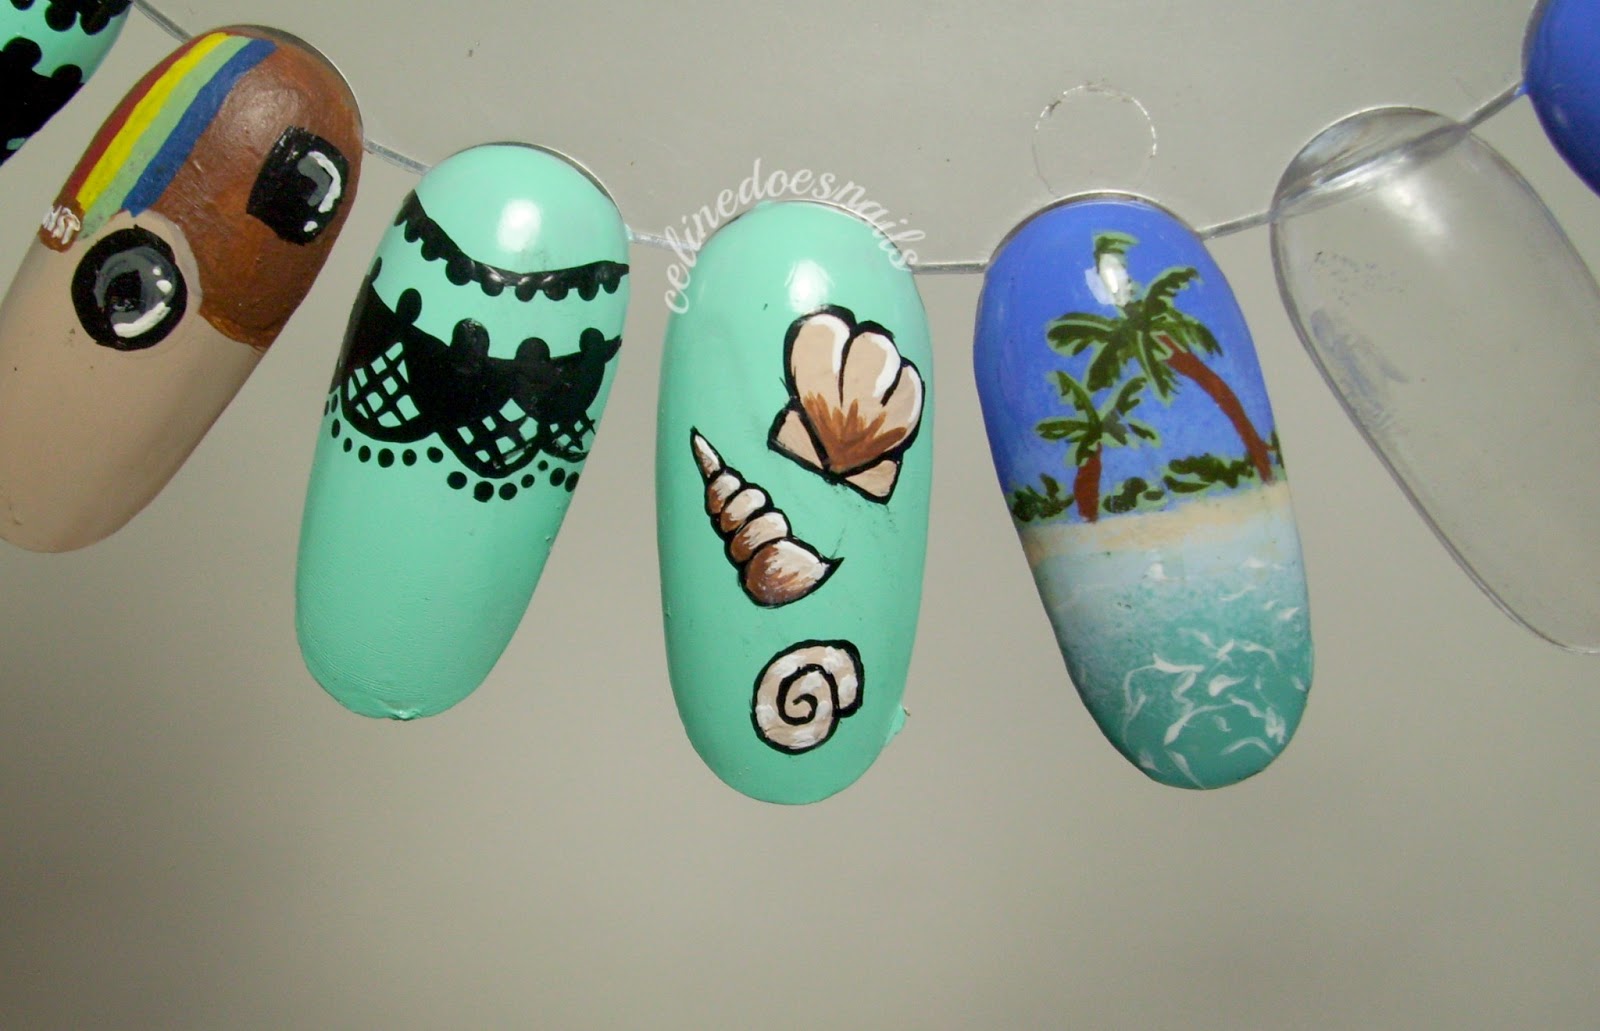
I'm not familiar with the types of shells but it looks like this:
STEP ONE:Paint a base color. I used Island Girl Surfer Babe.
STEP TWO:Using a thin paintbrush and paint/polish, paint a rectangle.
STEP THREE:Paint two lines down to the bottom center, kind of like an envelope.
STEP FOUR:Connect the lines from the previous step and paint the rest of the shell.
STEP FIVE:Fill in the shell with a paint/polish. I used a tan acrylic paint.
STEP SIX:Repaint the outline. Make sure to paint the pointy end at the bottom.
STEP SEVEN:
Using a darker brown paint/polish, fill in the bottom to add some shading.
STEP EIGHT:
Lastly, add some highlight by painting thin white lines against the outline of the shell.
Hope this was helpful! If you have any questions, feel free to ask!
Here's a simple pictorial just to sum it all up:
Thanks for reading!
Hello all!
I've been working on a lot of nail designs and pictorials that I have yet to post. Here's the first:
Let me first say that these were inspired by
Eve. She did awesome seashells with a tutorial
here. Super easy to follow too!
I went for a more realistic seashell look.
The polish I used for this manicure is called
Surfer Babe from Island Girl. My phone camera couldn't capture the color correctly. My actual camera could but the nails are blurry, it's a losing battle either way I suppose. It's more green in person. It reminds me of
Pure Ice Home Run.
Here's a picture from my camera. See the problem? In this picture it looks mint green. It's definitely not green.
Sorry for so many pictures! I kind of LOVE them.
Okay last picture I promise. This is in sunlight.
Oh yeah! I made a pictorial for the shells. I'll post that soon!
Thanks for reading!
Really short post today, but I did a guest blog post!
I really love these and had a great time making the tutorial.
Make sure to check it out!
I am beyond ready for Summer to start. These nails feel so summery and I just love them.
Surprisingly, I'm actually happy with the pictures I took too. I think the Turquoise came out really good in the pictures. It's Essie "Where's My Chauffeur?" I was kind of regretting purchasing this color, but then this mani made me love it again.
These were actually inspired by
these amazing nails.
Okay I really love these.
Thank you for reading.
Celine






.jpeg)


