Hey everyone! I've been revising all day so it's nice to have a break for a bit, although if you follow me on
Instagram you'll know that I may have got distracted from revision earlier and painted my nails, but unfortunately I don't have my lightbox at the moment so I can't take a proper picture! My last exam is tomorrow and I am so so excited to be free for 2 weeks, but until I can am properly finished, and until my lightbox returns on friday, the lovely Lucy from Lucy's Stash has kindly done a guest post for me, and I'm sure you'll love it as much as I do! I was lucky enough to share a hotel room with Lucy before/after the Cosmo blog awards and she's such a lovely person, and amazing at nail art, so I'm honoured to have her here today!
Hi everyone,
I’m so excited to be guest posting for Alice! Not only she is a freaking Cosmo Blog Award winner but I’ve also had a chance to hang out with her in person she is such a lovely person.
I have prepared a dotticure for you that I hope you’ll think is very intricate but to tell you the truth, it’s dead simple to do. Just start with two big dots on the opposite side of the nail and then create small dots around it in opposite colour. Then continue on both circles alternating the colours until they ‘meet’. Continue creating the dot circles in alternating colours until you fill the whole nail. Once you’re done let the design dry for few minutes and topcoat it.
For this manicure I have used two coats of SpaRitual Breathless (light pink jelly) for the base and then Imaginarium (neon pink shimmer) and Crystal Waters (turquoise blue shimmer) for the dots.
I hope you’ve enjoyed this manicure and feel free to stop by
Lucy’s Stash and check out more nail art and tutorials! Love, Lucie x
Hey everyone! Today I have some very bright polka dot nails for you. I know polka dots have been done a million times, but I always like to come back to them now and again because there's something about them that just entices me. These nails were inspired entirely by these
wellies* - or 'rain boots'/'galoshes' (definitely didn't google that) from
Shop On My Go Go. I got mine in the post a few weeks ago and I absolutely love how warm and comfy they are. Also, now it's starting to snow (yay!) I can finally wear them without looking like a fool. As you can probably see, the nails don't exactly match the colouring of the wellies, but I wasn't at home and the only colours I had to hand were the
Butter LONDON Colour Clash collection, I'm sure you don't mind too much?
What do you think? Let me know in the comments!
Alice
*some of the products in this post were provided to me for review but all opinions are entirely my own and were not influenced in any way. Please see my disclosure policy
Hey everyone! It's 1am here in the UK, and I just got in to bed and turned out the light, only to remember that I'd completely forgotten to do a tutorial tuesday! So the light is back on and I'm going to be super quick in writing this so I can go to sleep, second time around. This week's tutorial is for these glitter bow nails, which you might remember from
here. This time I used a base of the gorgeous
Shimmer Polish - Kim*, which you can see swatches of below. I'm going to include the rest of the post after the jump otherwise it might be too long!
And now for the tutorial:
Step 1: Paint your nails with a glitter base coat
Step 2: Using a brush, toothpick or dotting tool, paint the shape of a bow in a corresponding crème colour. (For instance, because the glitter is blue, the bow is blue too)
Step 3: Using a dotting tool, or a cut down toothpick, paint white dots on the bow shape
Step 4: Using a Black Barry M nail art pen, outline the bow shape. Start with the centre circle and then do the edges of the bow itself.
Step 5: Using the nail art pen again, draw the creases of the bow coming out from the centre
Step 6: Finish off with a topcoat to seal in your design and you’re done!
What do you think? Let me know in the comments!
Alice
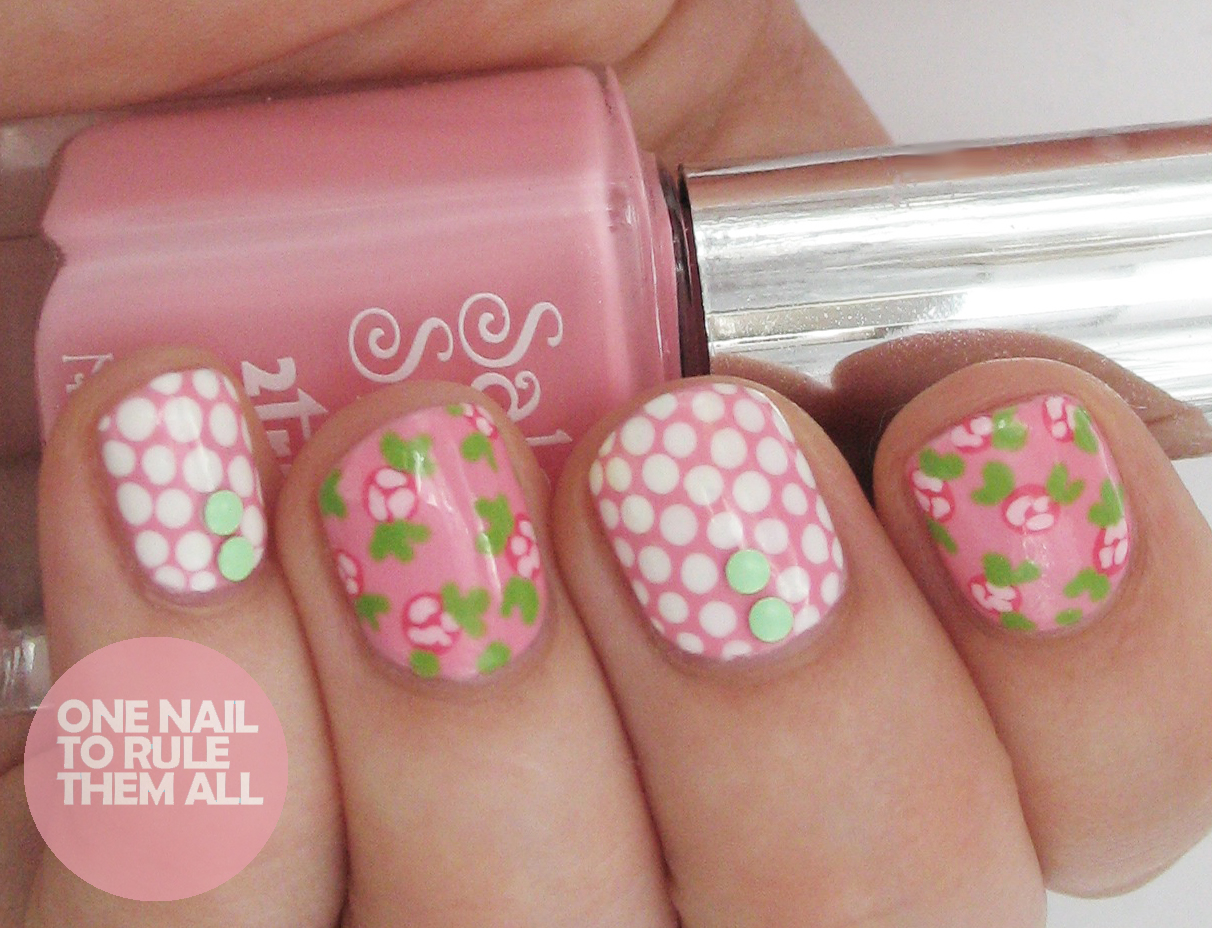
Hi everyone! I'm sorry it's been a while since I posted, I tried to post this last night but the internet just would not work and I was super tired so I decided to call it a night. Last week I received an amazing bundle of Born Pretty Store goodies in the post, which some of you may have seen on Instagram. As soon as I opened the parcel I just couldn’t wait to use them, so I decided to try out a variety of looks on the rose nails I had on at the time. I thought it would be a nice change to show you one look but a few different ways to accessorise it. So I hope you like it!
First up is the look alone. For these nails I used 2 True ‘Taylor’* (dark pink) and 2 True ‘Sienna’* (light pink). Which I should have a full review of coming in the next week or so. I also have a tutorial for these nails coming up soon too so keep an eye out for that.
Next up is using
these* gorgeous green studs. I can predict that all these gorgeously coloured studs will be used regularly because I’m absolutely in love with them!
The second look is just adding to the previous look. I didn’t want to take off the studs straight away so I decided to add
these* gorgeous flowers. They’re not exactly practical but they definitely look great!
The final look is using
these* rose studs, if you can call them studs. I was pleasantly surprised to find these (and the previous flowers) were rubbery rather than hard, which certainly makes them more practical as they don’t painfully rub on your skin or catch on things quite as much as they would if they were hard.
There you go! What do you think? Let me know in the comments
Alice
*some of the products in this post were provided to me for review but all opinions are entirely my own
Hey everyone! Just a quick post today, I did these a couple of weeks ago before my old laptop broke and then I completely forgot about them. If you follow me on instagram (@onenailtorulethemall) then you will have seen these partly already, but here's the full thing!
I can't remember the base colour and I'm in a different county to it at the moment so I cant check, but the white is acrylic paint, the blue is Barry M - Blueberry and the green is Sally Hansen - Spring Green, topped off with Seche Vite
What do you think? Let me know in the comments!
Alice
Hey everyone! So, as I mentioned in my last post, I currently don't have a laptop. :( I have about 10 posts done for you but I can't edit them and I can't get them off my old laptop just yet. I was meant to be starting a nail challenge this week but unfortunately I can't, so I will hopefully be catching up next week if I can somehow get photoshop!
I've decided instead then that ill post the only thing I can from my phone, and that's other people's nails, ones from my Instagram or ones about to go on my Instagram (@onenailtorulethemall) so here's a collection:
I really enjoy doing other people's nails, I know some people prefer to stick with their own but i'd love to do it professionally! If you want to know any colours just ask :)
Hope you like them! Let me know what you think in the comments.
Alice
Hey everyone! Recently there's been a new 'tag' on instagram called 'themanithatstarteditall' and I was 'tagged' to do it. So I decided to incorporate it into this week's Then and Now post. So today's design were the first nails I ever took a picture of, and I remember that I was super proud of them. I have created a tutorial for this design so please let me know if you want to see it! As always, the 'Then' post will be after the jump!
As usual, there's a significant jump in quality. And also my ability to use top coat, but aside from that I think the original design wasn't too bad.
Another reason I chose to do these nails this week was because of the reemergence of nail art pens back into my life. This design was originally done with nail art pens, and I was apprehensive to recreate it with a brush, as I'm still not very confident with brushes. So the new
Barry M nail art pens were the perfect opportunity for me to recreate these.
For this design I used the same base colour as with the original design; Rimmel - Perfect Plum. I used the pink and white
Barry M nail art pens for the flowers and filled in the blue with Essence - that's what I mint (can you tell I'm obsessed with this colour?)
For the first time in a very long time I also decided to brave it and do my right hand, I normally just have a solid colour on there, and I was so pleased with how it came out that I decided to show you a picture. I've never shown you my right hand before, ever, so enjoy!
Let me know what you think in the comments! Alice
Hey everyone! It's been a while since my last 'Then and Now' post. I think until the end of may (when my exams finish) I probably wont be doing it every week, but I shall try my best! This week's post I wasn't actually going to do, because I really hated the original nails and I remember taking them off after about 10 minutes, but I decided it would be a good test of how far my skills have come if I could make the same design look good, and I think it worked because I really like how they came out, I think they ended up looking a lot like buttons actually. As always the 'then' post will be after the jump
Look at that brilliant photography!
This time around I used Essence - Stuck On You as the base colour, and then I painted on large dots using a nail art brush in Essence - Free Hugs, That's What I Mint and Upper Green Side and then I used acrylic paint for the white
What do you think? Let me know in the comments!
Alice
Hey everyone, today's then and now post is a little different from previous posts as I actually have two examples of what these looked like 'then'. There's probably a years difference between all the posts so you can see how much I've improved each time (I also apparently was incapable of keeping my nails a similar length previously). As usual, the 'then' posts will be after the jump
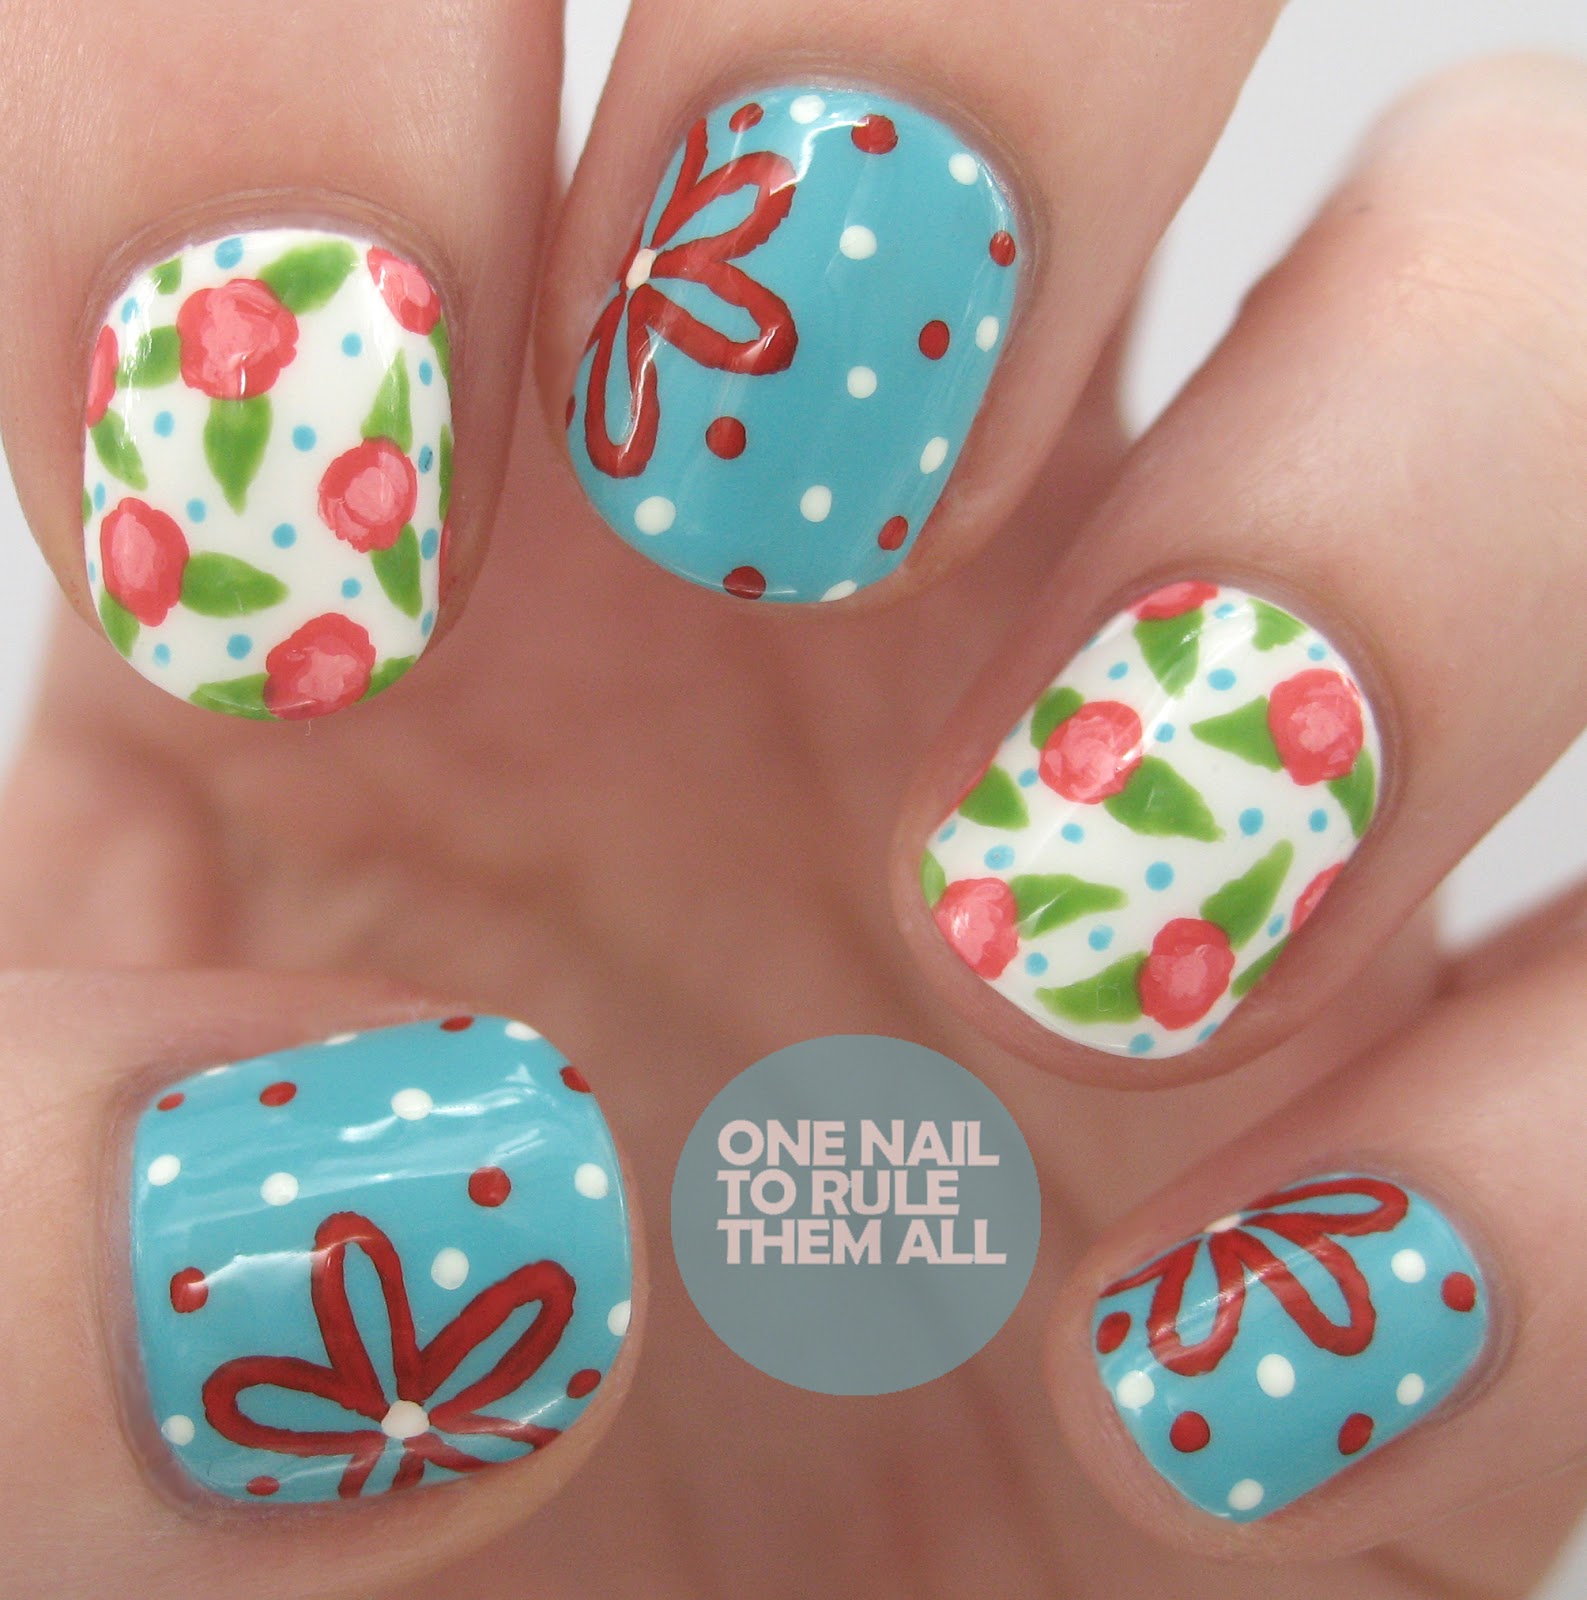
Both times previously the blue was Barry M - Blueberry but it's unfortunately still missing, so I had to use Barry M - Turquoise instead this time around. Originally everything would have been done with a dotting tool and nail varnish, but this time I mainly used acrylic paint except for the base colour and leaves, and a small brush. The white base colour is Essie - Blanc, and previously would have been Barry M - Matt White
As you can see I actually mattified the second mani, but for once when I mattified these nails they didn't look good (I feel betrayed) so I had to stick to a shiny finish. I actually remember taking the above picture, because I did it in the centre of town and my friends were yelling at me to hurry up, but that was in the days before I had a lightbox and I knew the light was about to run out (blogger problems), this time I had no such issues.
What do you think? I actually think I prefer the centre of the roses from the second time around, and I'd have rather done it in Barry M - Blueberry, but otherwise I'm pretty please with how these came out. Let me know your thoughts in the comments!
Alice
P.S. the giveaway winner was chosen on the 14th, but unfortunately did not reply in time, I'm now awaiting reply from the re-draw so please check your emails and spam to see if it's you!
Hey everyone! Another 'Then and Now' post today. I dont know what I'm going to do when I run out of old designs because reading through the comments of the
giveaway you all seem to love these posts, I was thinking about perhaps going through some old designs that I have on
my Tumblr which I'm not really happy with or the photographing isn't great, is that something you would be interested in? I still have about 10 or 11 posts left before we get to that but I thought I'd ask you all.
Today's post makes a nice change from all the valentines posts I've been spamming you with (and there are a few more to come yet) as it's just dots. I quite like this idea and I've been meaning to redo it for a while, even before I started the Then and Now posts because as you'll see from the 'then' picture I didn't even manage to keep the whole hand complete. As always the 'then' post will be after the jump.
Originally everything was done with a dotting tool, and I tried to do that again here but miserably failed on the big dots so I instead chose to use a brush for the bigger dots and a dotting tool for the smaller dots on the red. The red is Essie - Snap Happy and the blue is Barry M - Turquoise. The white is Essie - Blanc, the pink is an unnamed pink from a boots set, and the purple is an unnamed no 7 (lost the label), all topped off with 2 coats of Seche Vite. The original blue was Barry M - Blueberry which I still have but couldn't seem to find.
What do you think? Let me know in the comments!
Alice






.jpeg)


