Hey everyone! I'm sorry this post is (2 days) late, things have been super busy for the past 2 days and I barely had time to do these nails, let alone post them. I managed to find a few hours free yesterday to do them, and I intended to post them straight after, but these took much longer than I ever anticipated. Anyway, for day 5 of digital dozen book week I chose to do a selection of penguin books. I absolutely love the look of these books, and I've been meaning to do these nails for ages, so this week was the perfect opportunity.
The books I used were chosen at random, and I based it more around whether they'd fit on my nail rather than whether I'd read the book, although I'm sure you'll still recognise most of the titles. These nails are the most frustrating nails I've ever done, they took so much longer than I thought they would and they kept going wrong. I also couldn't fit on the author's name or 'penguin books' in full, because my nails aren't big enough, but overall I'm pretty happy with how these turned out.
To do these I started with 2 coats of
Jacava - Mont Blanc* and once that was dry (sped up using my
Beauty Narcotix Mini Ultimate Fix Quick Dry Spray*) I used striping tape and Essie - Fear & Desire for the orange, I didn't really want to wait for that to dry as well so I sprayed my mini Ultimate Fix once again, then I used acrylic paint and a cut down brush for the details.
 |
| Ultimate Fix Spray |
What do you think? Let me know in the comments!
Alice
*Some of the products in this post were provided to me for review, my opinions are entirely my own and were not influenced in any way
Hey everyone! I'm back for another day of digital dozen book week, and today I'm doing Alice in Wonderland. I couldn't go a whole week without at least ONE reference to my name after all. I chose a mix of other peoples ideas and making things up as inspiration for these nails, as you shall see, rather than using a book cover as with all the other designs.

On the thumb I did a the cheshire cat using OPI - Chic from Ears to Tail, and then I used striping tape and an unnamed purple polish from a set for the stripes, the mouth was done using acrylic paint. The checkers board remains from
yesterday on a base of
Jacava - Mont Blanc* which is a gorgeous white which only takes 2 coats for opacity, I used this on my ring finger too. My middle finger is Essie - Borrowed and Blue and acrylic paint. The outline on the ring finger is Essie - Beyond Cozy and the numerals are acrylic paint. My little finger is China Glaze - Kinetic Candy with
MASH - Black Nail Varnish* over it using striping tape. The tag is done using acrylic paint. And they're all topped off with a coat of Seche Vite.
The ring finger is inspired by
this design, the thumb is inspired by
this design (I know the link isnt to the artist but I cant seem to find who did it, if you know please let me know and I'll credit correctly) and the middle finger is inspired by
this design
What do you think? Let me know in the comments!
Alice
*some of the products in this post were provided for review, my opinions are entirely my own and were not influenced in any way
Hey everyone! We're now on day 3 of Digital Dozen book week and today I've based my nails on 2 books rather than one, both from the same 'Noughts and Crosses' series by Malorie Blackman. The two books I used were 'Noughts and Crosses' and 'Checkmate'. I wanted something simple to do today and these were perfect.
The two books:
As you can see I added a bit more detail to these than was on the covers originally, but I thought they'd be a bit boring if not.
To do these I used a base of
Jacava - 'Mont Blanc'* which is a gorgeous white which only 2 coats for opacity, and then I added black and white acrylic paint using a small brush, topped off with a coat of Seche Vite.
What do you think? Let me know in the comments!
Alice
*some of the products in this post were provided to me for review but my opinions were not influenced in any way
Hello everyone! As I mentioned yesterday, I was really struggling to come up with ideas for this week's digital dozen theme, so I had to resort to rifling through my bookcase for inspiration. Luckily I didn't have to search for very long as I came across Ruby Red by Linzi Glass and I knew instantly that I wanted to use it.
The book:
To do these I started with a base of OPI - My Vampire is Buff, (which I FINALLY HAVE!) and then I used a tiny brush and white acrylic paint for the background flowers. I then added a coat of Seche Vite and decided to take a picture of them alone in case the next step went wrong (see below). I then used red acrylic paint and the same tiny brush for the flowers and writing, I just added different amounts of white and black paint for the different shades of red.
I actually really like the design on its own like that, and I was afraid I wouldnt like it with the flowers but I equally love both of them. Which do you prefer?
What do you think? Let me know in the comments!
Alice
Hey everyone! I am now a member of the digital dozen, I have actually been a member for a few months but I've not had the time to complete the challenges. If you dont know what the digital dozen is, it's a group of nail bloggers who post 5 days a week once a month, based around a theme. This month's theme is books. As a massive book lover I'm surprised how hard I found it to come up with ideas for this week. I haven't even got 5 ideas yet! (Any suggestions are welcome in the comments).
Today's post was quite easy to think of though, as this book is right at the front of my bookshelf (I have so many books that I have to put some behind) and I've been meaning to make it into a nail design for ages. The book I chose is 'Phosphorescence' by Raffaella Barker, which my younger teenage self read a LOT. You'll probably find that the majority of my posts this week are books for children or teenagers, as their covers seem to a thousand times more inspiring, and this of course is no different. This will be quite a picture heavy post so I'll put the rest on a read more after the first picture.
Here's the book:
As you can see I didn't copy the design exactly, because I didn't feel the writing in the water or the rope around the life belt was necessary.
To do this I started with a base of Layla - CE73 and then I put Layla CE33 over that using the saran wrap technique. I topped that off with a coat of
INM Out The Door Topcoat* because it's fast-drying, and then I put
Models Own - Aqua Splash* over that. Aqua Splash* is from the new Splash collection and can be found
here. I did find that I needed a bit of placement but it still looks great. It reminds me a lot of their mirrorball collection, although I've never tried any of the collection so I could be wrong. Nevertheless it still seems quite unique. On the other nails I used acrylic paint to draw on a life belt, and topped that off with another coat of Out the Door.
 |
| Models Own 'Aqua Splash' |
I just wanted to include a bottle shot of Aqua Splash because look how gorgeous it looks!
What do you think? Will you be getting any of the new splash collection? Let me know in the comments! And dont forget to check out my
giveawayAlice
*some of the products in this post were provided to me for review, however my opinions were not influenced in any way and are entirely my own
Hey everyone! This is the last post in my Seven Deadly Sins challenge, and I'm quite sad to see it go. I'm hoping to bring it back next year if the other challengers will join me. This weeks sin is pride, and the prompt is to 'brag about how good you are at...'. I'm not big on bragging, but I feel that I am quite good at gel pen paisley designs so I thought I'd do another one, hope you dont mind!
For this I used Barry M - Bright Pink and Barry M - Red, I'm going to do a quick tutorial on this design for
Licila so you should see that soon! As always I also used a
Muji 0.38mm gel pen, topped off with a coat of Seche Vite.
What do you think? Let me know in the comments!
Alice
Hey everyone! I'm a couple of days late with this post, I've been enjoying the sunshine and freedom from exams for a few days, but now I'm back! We're nearing the end of the challenge now unfortunately, and I'll be sad to see it go, perhaps I'll redo it next year! We shall see. This week's prompt is for envy and it says 'who would you like to be? let us know by recreating another challenger's work'. I would like to be
Ana, who is a very lovely friend of mine, so these are loosely inspired by
this design and this design by her, but I tried to make it my own as much as possible.
The colours I used for this were:
Barry M - Blueberry
Essence - Upper Green Side
Barry M - Bright Pink
There were tonnes of Ana's designs that I would have loved to recreate but I really wanted to use my new ButterLONDON glitter polishes (review coming soon) so I decided to create these with a base of 'Bit Faker' which you can buy
here at lookfantastic.com. I am surprised by how much I like this polish, copper colours are not usually my thing but it looks really beautiful, as you can see from the swatch below. This was 2 coats of Bit Faker with 2 coats of Seche Vite top coat.
 |
| Butter London - Bit Faker |
What do you think? Let me know in the comments!
Alice
*Products in this post were provided to me for review, all opinions are entirely my own and were not influenced in any way
Hey everyone! I'm afraid this post is a little bit late because my brand new laptop broke (only a month old) but I took it back today and they gave me a brand new one so HOPEFULLY I should be okay now. 2 broken laptops in just over a month is not how I like exam period to go, or any period of time for that matter!
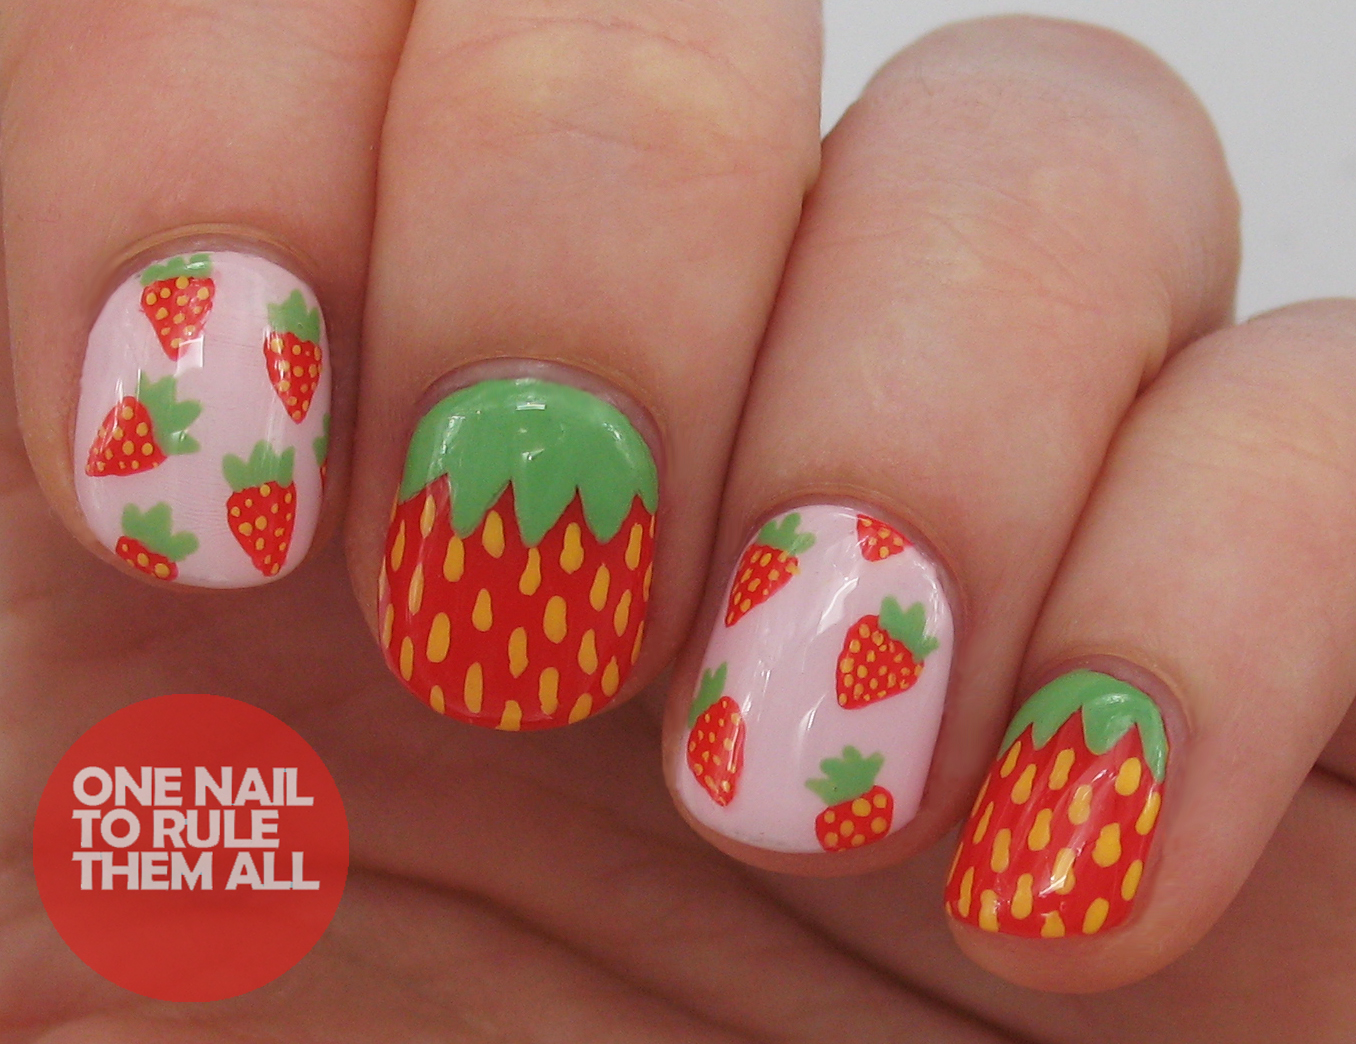
Anyway, I'm back now and I have the next week of the Seven Deadly Sins challenge for you: wrath. The prompts for this were either 'get mad trying that technique you know is going to be a fail' or 'find something that blows your top and express it with your art' and I decided to combine the two and go with something that really annoys me about nail art/nail polish: the removal of red polish! It seems to get everywhere and I hate it, so I thought I'd go against my hatred and do some nail art with it.
I had this red to review anyway from the lovely Sally over at
Sally Magpies, as she wanted me to let you all (in the UK) know that you can get a wide range of products on her store that are sold abroad usually, which you're all lusting after. For instance, Essence. As I've mentioned before my lovely friend
Emily provided me with a few Essence nail varnishes and it included my new favourite blue: 'that's what I mint' which is luckily
sold at Sally's store, as its already half empty. Anyway, here is the red that Sally gave me, it's called 'redvolution' and along with many other Essence products it's sold
here for just £2.75
This is 2 very easy coats, it's not quite as neon as the picture suggests but it is pretty bright
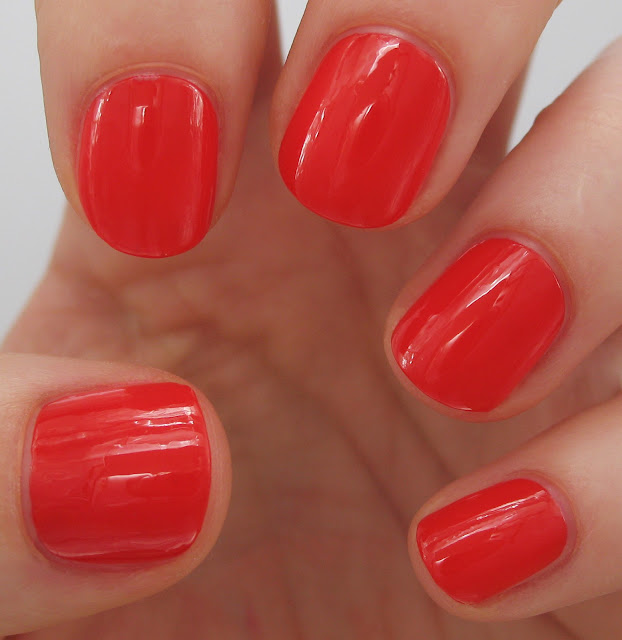 |
| Essence 'Redvolution' |
Of course, I couldn't do that without adding a bit of nail art, so I removed a couple of nails (eugh) and added 'Something Sweet' by China Glaze and added some mini strawberries.
What do you think? Let me know in the comments!
Alice
Hey everyone! Today I'm back with another seven deadly sins challenge post and this week it's 'Sloth'. The prompt for this was 'dont try too hard but explain how to do something really easy [tutorial]' so here you go! I decided to create an easy gradient youtube tutorial, with 'Chalk Dust' by Maybelline over the top. I'm pretty sure this is the only thing I'm going to be rocking on my nails during exam time as they're super easy to create. But dont worry I have a load of posts lined up for you so this isn't all you'll see.
The base colours for this nail were Clinique 'Juiced up', 'Splish Splash', '70° and Sunny' and 'Pinkini' which i shall be reviewing soon, and also 'Hula Skirt', which I reviewed here, and then I sponged 'Raindrop' by NYC, Barry M 'Passion Fruit', Barry M 'Prickly Pear', and Barry M 'Cobalt Blue', all topped off with a coat of 'Chalk Dust' by Maybelline (a much cheaper, and bigger, alternative to the new Loreal black and white glitter for all your Brits)
And
here is the Youtube tutorial (excuse the weird intro, I didn't have time to record one and my friend edited the video so she had to mash one together, oops!). For some reason it wont let me add the video to this blogpost but I'll try again tomorrow if you're too lazy to click the link!
What do you think? Let me know in the comments!
Alice
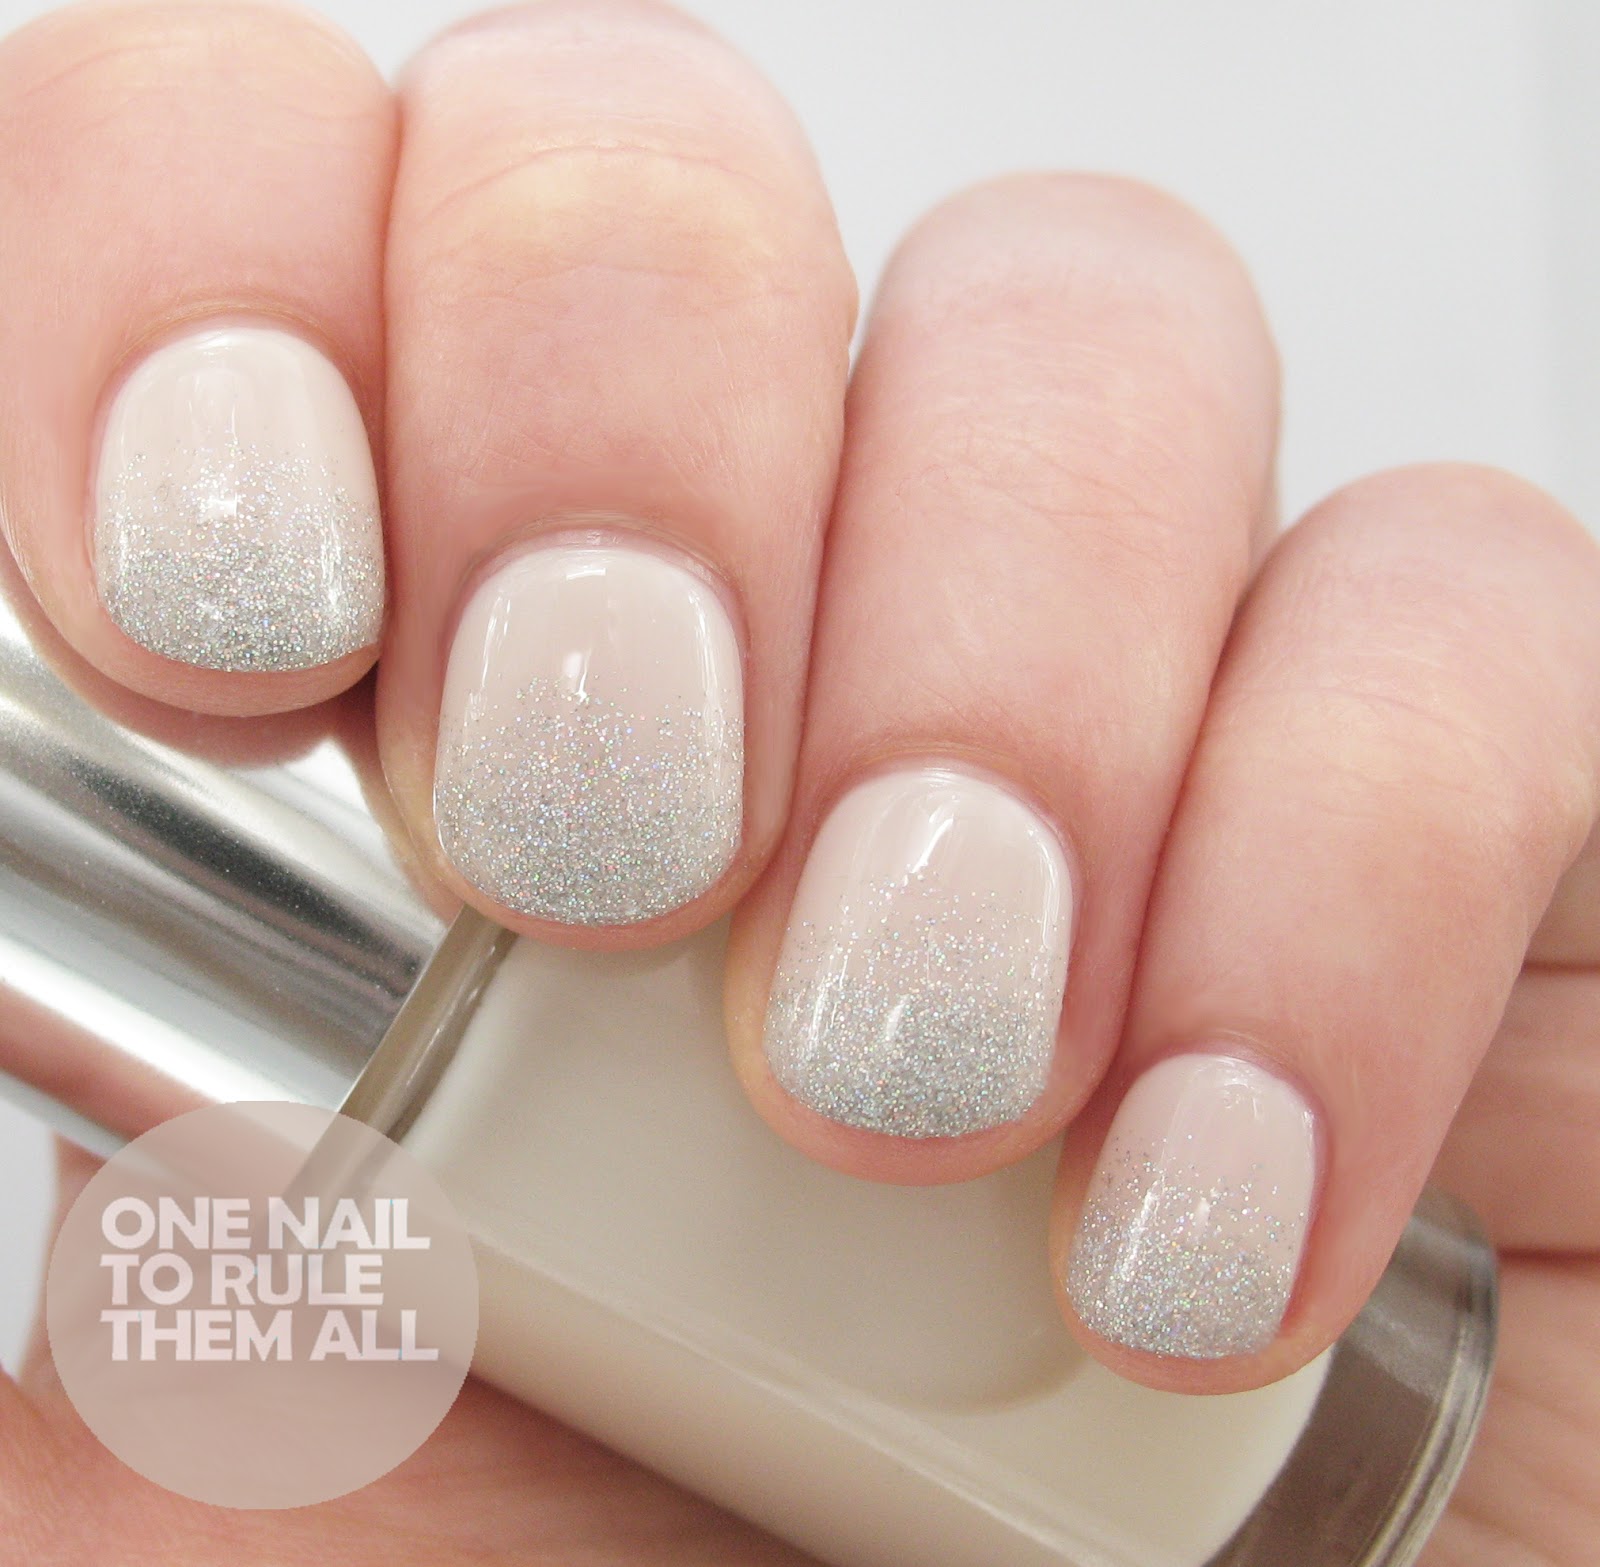
Hey everyone! I'm a little late with this week's seven deadly sins post, I dont really have any excuse for that except that I forgot to edit the pictures last night and then it was too late, so sorry about that! This week's prompt was 'go wild and use your most expensive and precious polish'. I dont own many expensive polishes because I have a £3 maximum spend (the student life is super fun) but I did recently recieve these awesome Clinique polishes, as you saw
here, which retails for £12 (I also have another few Clinique polishes to show you soon!) and last winter when I saw China Glaze 'Glistening Snow' I had to splurge a massive £6 (!!!) to buy it straight away, so I thought I'd mix the two together, along with my always-expensive top coat: Seche Vite.
What do you think? Let me know in the comments!
Alice
Hey everyone! Just a quick post from me today, I have been swatching all night (around 9 hours) and I really just want to crawl into bed, so basically this is week 2 of the Seven Deadly Sins Challenge, which is Gluttony, I chose the option to 'paint something that makes your stomach growl' which is definitely cake!
For these I used China Glaze - It's a Trapeze (and I was inspired to use it for the frosting by
Algae Veronica), Essie - Blanc, Essie Blanc mixed with Barry M - Grey, and Nail Supreme nail art pens for the black outline and cherry.
I also wanted to show you it without the outline because I'm torn over which looks better!
What do you think? Do you prefer them with or without the outline? Let me know in the comments!
Alice
Hey everyone! I have a wonderful new challenge for you today, I intended to post this on wednesday but obviously I couldn't because of my stupid broken laptop, so I shall post it on the last day of the week instead. The general idea for this challenge is that we either post once or twice a week, and each week has a different 'sin', this week is Lust. Because of exams I will only be posting once a week but there are plenty of bloggers who are posting more, check out the inlinks below.
The idea for this week was to do something you'd wanted to do really badly, and I've done most of the things I've wanted to do badly for a while, so I chose to copy a design I saw a few weeks ago and couldn't get out of my head instead, turtles! Unfortunately I cannot for the life of me find the original artist for these nails, I found an image on instagram with no credit given and no watermark, and uploading to google images didn't turn up anything unfortunately, so if you know who did these first please let me know so I can credit properly!
Here's the poster for the challenge, I'll probably alternate which day from each week I decide to do because there are a few that stand out to me.
Next week is Gluttony, and I cant wait to show you what I came up with!
What do you think? Let me know in the comments!
Alice
Hey everyone! It's been a while since my last 'Then and Now' post. I think until the end of may (when my exams finish) I probably wont be doing it every week, but I shall try my best! This week's post I wasn't actually going to do, because I really hated the original nails and I remember taking them off after about 10 minutes, but I decided it would be a good test of how far my skills have come if I could make the same design look good, and I think it worked because I really like how they came out, I think they ended up looking a lot like buttons actually. As always the 'then' post will be after the jump
Look at that brilliant photography!
This time around I used Essence - Stuck On You as the base colour, and then I painted on large dots using a nail art brush in Essence - Free Hugs, That's What I Mint and Upper Green Side and then I used acrylic paint for the white
What do you think? Let me know in the comments!
Alice
Hey everyone! Today's 'Then and Now' post is a little different, because I've been wanting to redo this design for a while, but it's actually still online, and the photography isn't too bad in it, but I never had a top coat when I did them and I had no idea about cuticle clean up so I really wanted to see how different they looked. I've not looked at the old design for a long time and in my head it was a lot more detailed than it actually is, so my newer design is actually pretty detailed because that's how I imagined it, but hopefully that's a good thing right? As always the old design will be after the jump, but if you cant wait you can see it still on my tumblr
here
As you can see I also missed out the Pacman from my thumb, but I just wasn't in the mood to wrestle with my yellow nail varnish, so I hope you dont mind! Also the original picture has been edited to have serious contrast issues on the thumb, I dont know why!
I used a base of China Glaze - Liquid Leather, then I used a small detailing brush to draw on the lines with Barry M - Cobalt Blue, then I used white acrylic paint and the same detailing brush for the white dots, then I added the details all in acrylic paint, and then I topped it off with 2 coats of Seche Vite.
Hope you like them! Which design do you prefer? I'm a little worried that I made the new nails too detailed.
Let me know what you think in the comments!
Alice
Hi everyone! Firstly I just want to start with an apology, firstly for not posting for a few days and secondly for not posting these yesterday like usual. Everything has been a bit hectic for the past few days and I've had bare nails for ages, so I hope you'll forgive me! I try to post as much as possible but sometimes it's difficult to balance everything.
So back on to today's post, due to my lack of time at the moment I chose a really simple design from my 'archives' to redo: Yin Yang nails! So it's probably one of the least original designs you'll see the whole time in this series from me, but it's the best I could do in an hour. There's not really much explaining to be done so as usual the 'then' post will be after the jump with colours used :)
The base for these nails is Essie - Blanc, and the black is China Glaze - Liquid Leather, they were the only colours used except for a couple of touchups with acrylic paint, and I topped it all off with a coat of Seche Vite.
I'm sorry there's only the one picture today, I barely had time to edit one and post this but I can assure you that I have some great posts coming up next week for you (one of which you may have seen a sneak peak of on my instagram)
If you like these nails, I've been selling a set of these in my (newly restocked)
Etsy store on false nails for £7!
What do you think? Let me know in the comments!
Alice
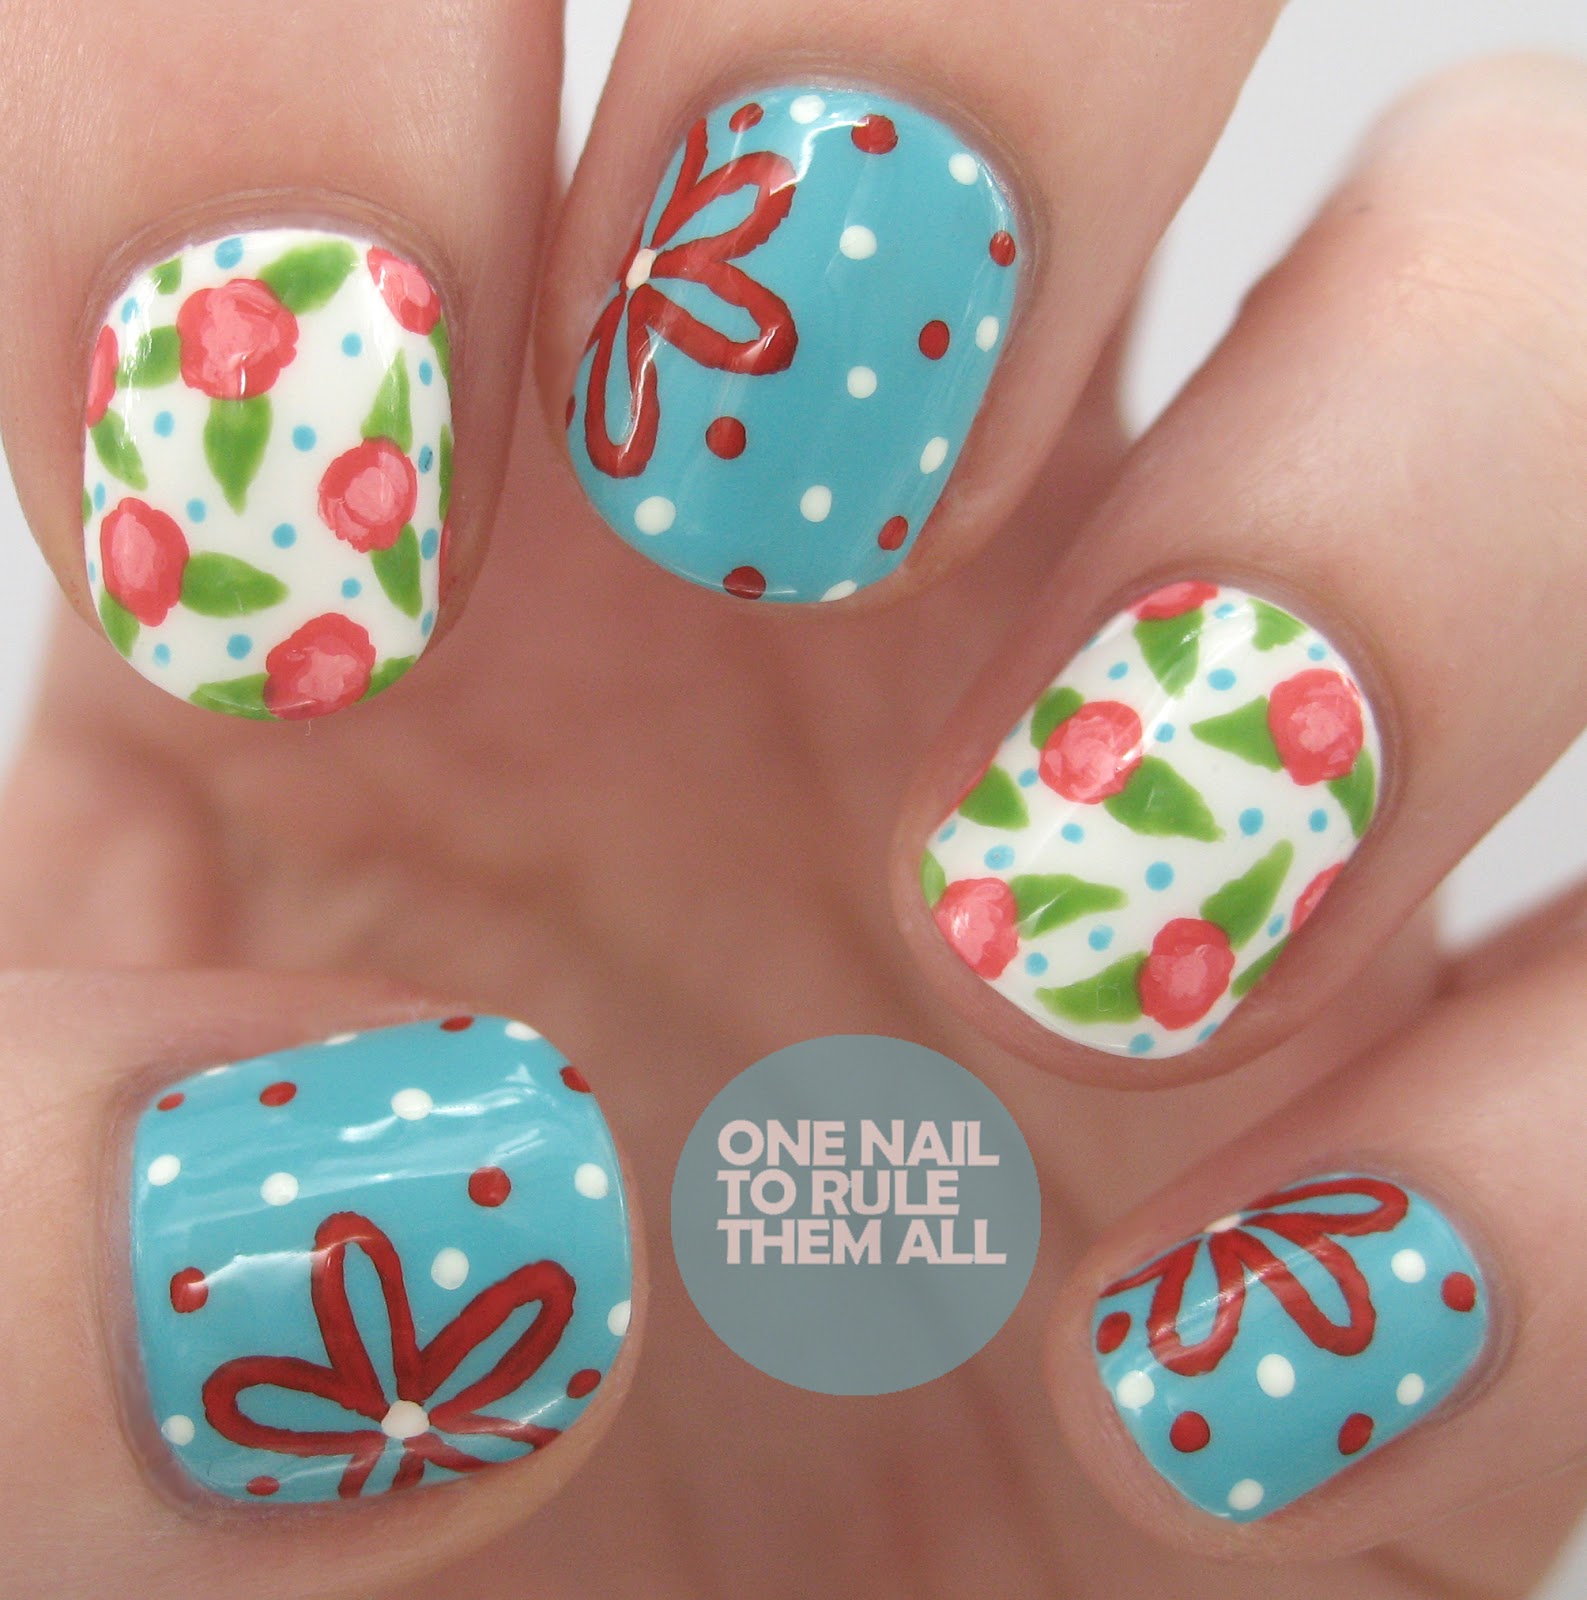
Hey everyone, today's then and now post is a little different from previous posts as I actually have two examples of what these looked like 'then'. There's probably a years difference between all the posts so you can see how much I've improved each time (I also apparently was incapable of keeping my nails a similar length previously). As usual, the 'then' posts will be after the jump
Both times previously the blue was Barry M - Blueberry but it's unfortunately still missing, so I had to use Barry M - Turquoise instead this time around. Originally everything would have been done with a dotting tool and nail varnish, but this time I mainly used acrylic paint except for the base colour and leaves, and a small brush. The white base colour is Essie - Blanc, and previously would have been Barry M - Matt White
As you can see I actually mattified the second mani, but for once when I mattified these nails they didn't look good (I feel betrayed) so I had to stick to a shiny finish. I actually remember taking the above picture, because I did it in the centre of town and my friends were yelling at me to hurry up, but that was in the days before I had a lightbox and I knew the light was about to run out (blogger problems), this time I had no such issues.
What do you think? I actually think I prefer the centre of the roses from the second time around, and I'd have rather done it in Barry M - Blueberry, but otherwise I'm pretty please with how these came out. Let me know your thoughts in the comments!
Alice
P.S. the giveaway winner was chosen on the 14th, but unfortunately did not reply in time, I'm now awaiting reply from the re-draw so please check your emails and spam to see if it's you!


