Showing posts with label then and now. Show all posts

Then and Now: Scrabble Love Nails

Hey everyone! Today's post is another then and now post, but it's a little different. You may remember that a couple of weeks ago I mentioned that I was the featured artist for Scratch nail wraps this September, and one of the designs they chose to make in to wraps was my scrabble love nails, which for a very long time were my most popular nails ever. I therefore decided it would be quite cool to do a then and now post with the wraps, so it's not really a matter of skill comparison, just photography, but hopefully you still like it! As always the old design will be after the jump


I remember taking this photo, stood outside my college with a tonne of people wondering what on earth I was doing. I can never unsee the yellow lines in the background, and I'm sure you can't now either, and they've always ruined this photo for me. Along with the awful pose and skin!


As these wraps are clear I started off with a base colour of Butter London - Cuppa, and then applied the wraps, and then I applied a coat of my trusty Seche Vite.


If you'd like to buy these wraps, or one of the other designs, you can find them here throughout September. They're limited edition so get them whilst you can.
What do you think? Let me know in the comments!
Alice

Essie - Then and Now: Review, Nail Art +GIVEAWAY

Hey everyone! Today I have an exciting new colour by Essie to show you called 'Then and Now'*. I hope I didn't confuse you too much with the title, I know some of you were probably expecting one of my comparison posts between my old work and new work,  but alas, today is just some new work, which hopefully you shall enjoy just as much! Essie have teamed up with Then and Now to create this gorgeous grey/brown shade. You can buy it here on their website but I will also be giving away a bottle to one lucky reader, you can enter using the Rafflecopter widget below.


For these nails I started off with 2 extremely easy coats of Essie - Then and Now* and I used Nicole by OPI - Spring Break* and Nicole by OPI - Selena* for the roses, along with Rimmel - Misty Jade* for the leaves, all topped off with a coat of Seche Vite.


Giveaway image

a Rafflecopter giveaway

The rules of the giveaway are under the 'Terms and Conditions' part of the widget, please make sure to read all the rules before entering but for those who are reading for those all important words, it is open internationally.

What do you think? Do you like the colour/nail art? 
Let me know in the comments!
Alice

*some of the products in this post were provided to me for review but all opinions are entirely my own and were not influenced in any way

Then and Now: Cath Kidston + Tutorial

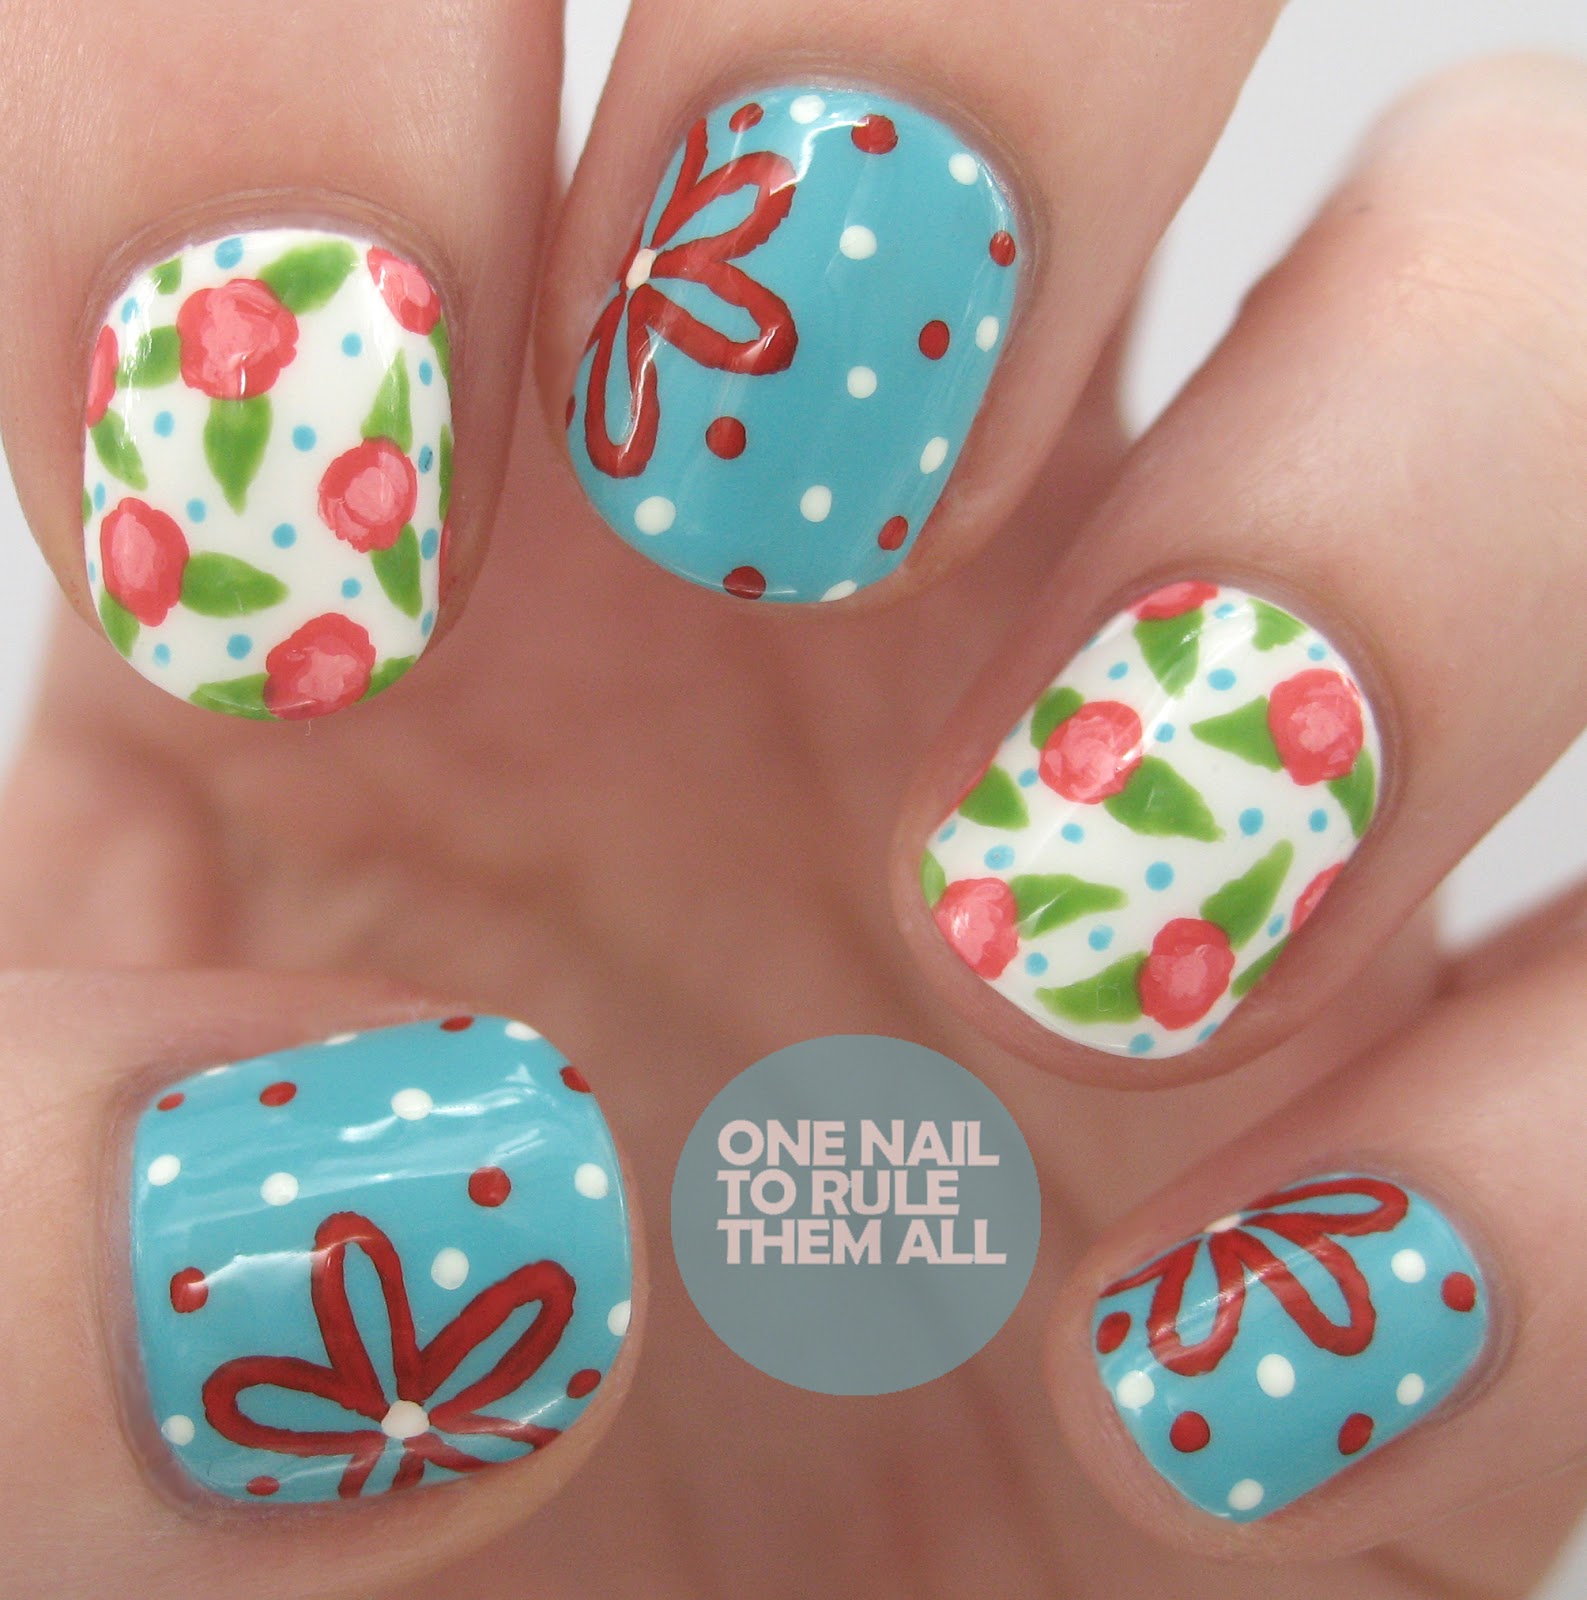
Hey everyone! It's been a while since my last Then and Now post so I thought it was about time to bring it back. I have done a tutorial for these nails as well which I'll post as a quick tutorial rather than a detailed one because I'm pretty tired. Today's post, as the title suggests, is a recreation of my Cath Kidston nails. You can see my original post, from just over a year ago here. As always, the 'then' will be after the jump, and this time the tutorial will be too!


These nails were done on a base of Rococo - Smitten, but I couldn't tell you what they were done on last time 


I remember being incredibly proud of the photography on these nails. Now I don't really see why, especially considering the photo below...


I also hate how long my nails are here. I know compared to the majority of bloggers they're not really that long but I just don't feel like I suit that kind of length. Aside from that, I do actually really like the design, it was definitely one of my proudest moments up to that point and I was happy to be able to recreate it to see where my skills have come along.


I definitely feel that there's been improvement, both in the execution of the design and in the photography, but I dont hate the original design either. 

Now for the tutorial!


Step 1: Paint your nails blue

Step 2: Using a dotting tool paint cloud shapes in white on your nail

Step 3: Using a thin brush paint light pink on the inside of the white

Step 4: Using a thin brush paint on the inside of the light pink in a darker pink for the shape of the rose

Step 5: Using a thin brush and green polish add leaves to your design, be careful to stay inside the white clouds

Step 6: Using a thin brush and white nail polish or acrylic paint, outline the cloud shapes one by one (see the ring finger)

Step 7: Finish outlining with dots

Step 8: Add a top coat to seal in your design and you’re done!


What do you think? Let me know in the comments!
Alice

Then and Now: Lilac Roses

Hey everyone! I'm back (finally) with a new then and now post. I know a lot of you said in the comments of my giveaway that you'd like to see a few more then and now posts so I thought I'd bring it back. Although, I wont be doing it every week like before, just when I feel like it. This week I'm redoing a stripes and roses combination that a few of you may remember as it was probably around a year ago that I did it, in fact you can actually see it on my blog here, but the difference in nail size is huge. I actually cut my nails a bit too short this time around, so the difference is even bigger than it should have been, but oh well! As always the 'then' picture will be after the jump. 


Look at the length of those nails! I can hardly believe it's the same hand. 


I completely forgot to add polka dots to the rose nails and I really wish I had because I think they really add to the design.

This time I started with a base of Barry M - Berry Ice Cream and used striping tape along with MASH - white, rather than freehanding the stripes like before. I got the idea to use tape here from The Nailasaurus. In fact I got the idea to recreate this design from her because I really wanted to try it out using tape. The roses are Barry M - Passion Fruit and Barry M - Bright Pink, with Barry M - Key Lime, all topped off with a coat of my favourite top coat in the world, Seche Vite. 

What do you think? Which do you prefer? Let me know in the comments! 
Alice

Then and Now: Week 16

Hey everyone! Recently there's been a new 'tag' on instagram called 'themanithatstarteditall' and I was 'tagged' to do it. So I decided to incorporate it into this week's Then and Now post. So today's design were the first nails I ever took a picture of, and I remember that I was super proud of them. I have created a tutorial for this design so please let me know if you want to see it! As always, the 'Then' post will be after the jump! 


As usual, there's a significant jump in quality. And also my ability to use top coat, but aside from that I think the original design wasn't too bad.

Another reason I chose to do these nails this week was because of the reemergence of nail art pens back into my life. This design was originally done with nail art pens, and I was apprehensive to recreate it with a brush, as I'm still not very confident with brushes. So the new Barry M nail art pens were the perfect opportunity for me to recreate these. 


For this design I used the same base colour as with the original design; Rimmel - Perfect Plum. I used the pink and white Barry M nail art pens for the flowers and filled in the blue with Essence - that's what I mint (can you tell I'm obsessed with this colour?) 

For the first time in a very long time I also decided to brave it and do my right hand, I normally just have a solid colour on there, and I was so pleased with how it came out that I decided to show you a picture. I've never shown you my right hand before, ever, so enjoy!


Let me know what you think in the comments! Alice


Then and Now: Week 15

Hey everyone! It's been a while since my last 'Then and Now' post. I think until the end of may (when my exams finish) I probably wont be doing it every week, but I shall try my best! This week's post I wasn't actually going to do, because I really hated the original nails and I remember taking them off after about 10 minutes, but I decided it would be a good test of how far my skills have come if I could make the same design look good, and I think it worked because I really like how they came out, I think they ended up looking a lot like buttons actually. As always the 'then' post will be after the jump 


Look at that brilliant photography!

This time around I used Essence - Stuck On You as the base colour, and then I painted on large dots using a nail art brush in Essence - Free Hugs, That's What I Mint and Upper Green Side and then I used acrylic paint for the white

What do you think? Let me know in the comments!
Alice

Then and Now: Week 14

Hey everyone! Today's 'Then and Now' post is a little different, because I've been wanting to redo this design for a while, but it's actually still online, and the photography isn't too bad in it, but I never had a top coat when I did them and I had no idea about cuticle clean up so I really wanted to see how different they looked. I've not looked at the old design for a long time and in my head it was a lot more detailed than it actually is, so my newer design is actually pretty detailed because that's how I imagined it, but hopefully that's a good thing right? As always the old design will be after the jump, but if you cant wait you can see it still on my tumblr here


As you can see I also missed out the Pacman from my thumb, but I just wasn't in the mood to wrestle with my yellow nail varnish, so I hope you dont mind! Also the original picture has been edited to have serious contrast issues on the thumb, I dont know why!

I used a base of China Glaze - Liquid Leather, then I used a small detailing brush to draw on the lines with Barry M - Cobalt Blue, then I used white acrylic paint and the same detailing brush for the white dots, then I added the details all in acrylic paint, and then I topped it off with 2 coats of Seche Vite.


Hope you like them! Which design do you prefer? I'm a little worried that I made the new nails too detailed. 

Let me know what you think in the comments!
Alice

Then and Now: Week 13

Hi everyone! Firstly I just want to start with an apology, firstly for not posting for a few days and secondly for not posting these yesterday like usual. Everything has been a bit hectic for the past few days and I've had bare nails for ages, so I hope you'll forgive me! I try to post as much as possible but sometimes it's difficult to balance everything. 

So back on to today's post, due to my lack of time at the moment I chose a really simple design from my 'archives' to redo: Yin Yang nails! So it's probably one of the least original designs you'll see the whole time in this series from me, but it's the best I could do in an hour. There's not really much explaining to be done so as usual the 'then' post will be after the jump with colours used :)


The base for these nails is Essie - Blanc, and the black is China Glaze - Liquid Leather, they were the only colours used except for a couple of touchups with acrylic paint, and I topped it all off with a coat of Seche Vite. 

I'm sorry there's only the one picture today, I barely had time to edit one and post this but I can assure you that I have some great posts coming up next week for you (one of which you may have seen a sneak peak of on my instagram)

If you like these nails, I've been selling a set of these in my (newly restocked) Etsy store on false nails for £7!

What do you think? Let me know in the comments!
Alice


Then and Now: Week 12

Hey everyone, today's then and now post is a little different from previous posts as I actually have two examples of what these looked like 'then'. There's probably a years difference between all the posts so you can see how much I've improved each time (I also apparently was incapable of keeping my nails a similar length previously). As usual, the 'then' posts will be after the jump


Both times previously the blue was Barry M - Blueberry but it's unfortunately still missing, so I had to use Barry M - Turquoise instead this time around. Originally everything would have been done with a dotting tool and nail varnish, but this time I mainly used acrylic paint except for the base colour and leaves, and a small brush.  The white base colour is Essie - Blanc, and previously would have been Barry M - Matt White


As you can see I actually mattified the second mani, but for once when I mattified these nails they didn't look good (I feel betrayed) so I had to stick to a shiny finish. I actually remember taking the above picture, because I did it in the centre of town and my friends were yelling at me to hurry up, but that was in the days before I had a lightbox and I knew the light was about to run out (blogger problems), this time I had no such issues. 


What do you think? I actually think I prefer the centre of the roses from the second time around, and I'd have rather done it in Barry M - Blueberry, but otherwise I'm pretty please with how these came out. Let me know your thoughts in the comments!

Alice

P.S. the giveaway winner was chosen on the 14th, but unfortunately did not reply in time, I'm now awaiting reply from the re-draw so please check your emails and spam to see if it's you!

Then and Now: Week 11

Hey everyone! Another 'Then and Now' post today. I dont know what I'm going to do when I run out of old designs because reading through the comments of the giveaway you all seem to love these posts, I was thinking about perhaps going through some old designs that I have on my Tumblr which I'm not really happy with or the photographing isn't great, is that something you would be interested in? I still have about 10 or 11 posts left before we get to that but I thought I'd ask you all.

Today's post makes a nice change from all the valentines posts I've been spamming you with (and there are a few more to come yet) as it's just dots. I quite like this idea and I've been meaning to redo it for a while, even before I started the Then and Now posts because as you'll see from the 'then' picture I didn't even manage to keep the whole hand complete. As always the 'then' post will be after the jump.


Originally everything was done with a dotting tool, and I tried to do that again here but miserably failed on the big dots so I instead chose to use a brush for the bigger dots and a dotting tool for the smaller dots on the red. The red is Essie - Snap Happy and the blue is Barry M - Turquoise. The white is Essie - Blanc, the pink is an unnamed pink from a boots set, and the purple is an unnamed no 7 (lost the label), all topped off with 2 coats of Seche Vite. The original blue was Barry M - Blueberry which I still have but couldn't seem to find.


What do you think? Let me know in the comments!
Alice

And dont forget to enter my GIVEAWAY

Then and Now: Week 10

They're back! The then and now posts have returned! Have you missed them? I know from reading the giveaway comments that a few of you have. These nails were done about 2 weeks ago, maybe even longer, but the past couple of saturdays I've just been too busy to post them, but they should return to being weekly now. This is a design that I remember doing, and remember removing straight away to try another design (which I'm sure will make an appearance at some point), something I'd never done before and something I never did again until I starting painting more regularly (aka now) because I didn't much like 'wasting' nail varnish. As you'll see, the design was also pretty rubbish so it was no big loss to the world that they didn't last very long!

I'm sure many of you will know that this design isn't original, but as with all of these posts, I can't remember where I got the original inspiration from, so for now I cannot give credit, but if you know who originally created these then please let me know. The original picture is after the jump!


As you can tell, I was a true natural at nail art, and I really knew how to make my photos look great! (I hope you can hear my sarcasm right here). 

In the original post, and now, I used Barry M - Matt white as the base, the only white I'd ever used until I chanced upon a bottle of Essie - Blanc in TKmaxx a few weeks ago. The black was probably previously Barry M - Black, but I can't tell you any more than that, except that it was all done with dotting tools, as were all my previous designs. This time the black was China Glaze - Liquid Leather for the spots (is that what they're called?) and the cow was done with acrylic paint, all topped off with a coat (or possibly two I cant remember) of Seche Vite. 


As you can see, I completely changed the cow, mainly because it previously looked nothing like a cow!

What do you think? Let me know in the comments, I always love hearing what you have to say!

Alice

P.S. dont forget to enter my giveaway!


Then and Now: Week 9

Hey everyone, today I have week 9 of my 'then and now' challenge. When I first set out to do this 'challenge' I randomly numbered the 22 posts I have so that I could do them in that order, but once I got to week 5 and didn't really like the design I started mixing things up a bit, so today's choice was because I felt I'd used too many reds and blues lately: bees! More after the jump


As you can see I completely changed the original design, only really keeping the concept of bees because I didn't really think the original design was that great. Originally everything would have been done with dotting tools and nail varnish but this time I used a brush and acrylic paint for the little bee and tape and black nail varnish for the stripes.

The base on all but my ring finger is NYC - Lexington Yellow, the black is Barry M- Black and the white base is Essie - Blanc (which I picked up in a set of 4 for £5!!)


What do you think? Was the original design any good and should I have stuck with it? Or do you like the cute little bee? Let me know in the comments!
Alice
