Hey everyone! It's 1am here in the UK, and I just got in to bed and turned out the light, only to remember that I'd completely forgotten to do a tutorial tuesday! So the light is back on and I'm going to be super quick in writing this so I can go to sleep, second time around. This week's tutorial is for these glitter bow nails, which you might remember from
here. This time I used a base of the gorgeous
Shimmer Polish - Kim*, which you can see swatches of below. I'm going to include the rest of the post after the jump otherwise it might be too long!
And now for the tutorial:
Step 1: Paint your nails with a glitter base coat
Step 2: Using a brush, toothpick or dotting tool, paint the shape of a bow in a corresponding crème colour. (For instance, because the glitter is blue, the bow is blue too)
Step 3: Using a dotting tool, or a cut down toothpick, paint white dots on the bow shape
Step 4: Using a Black Barry M nail art pen, outline the bow shape. Start with the centre circle and then do the edges of the bow itself.
Step 5: Using the nail art pen again, draw the creases of the bow coming out from the centre
Step 6: Finish off with a topcoat to seal in your design and you’re done!
What do you think? Let me know in the comments!
Alice
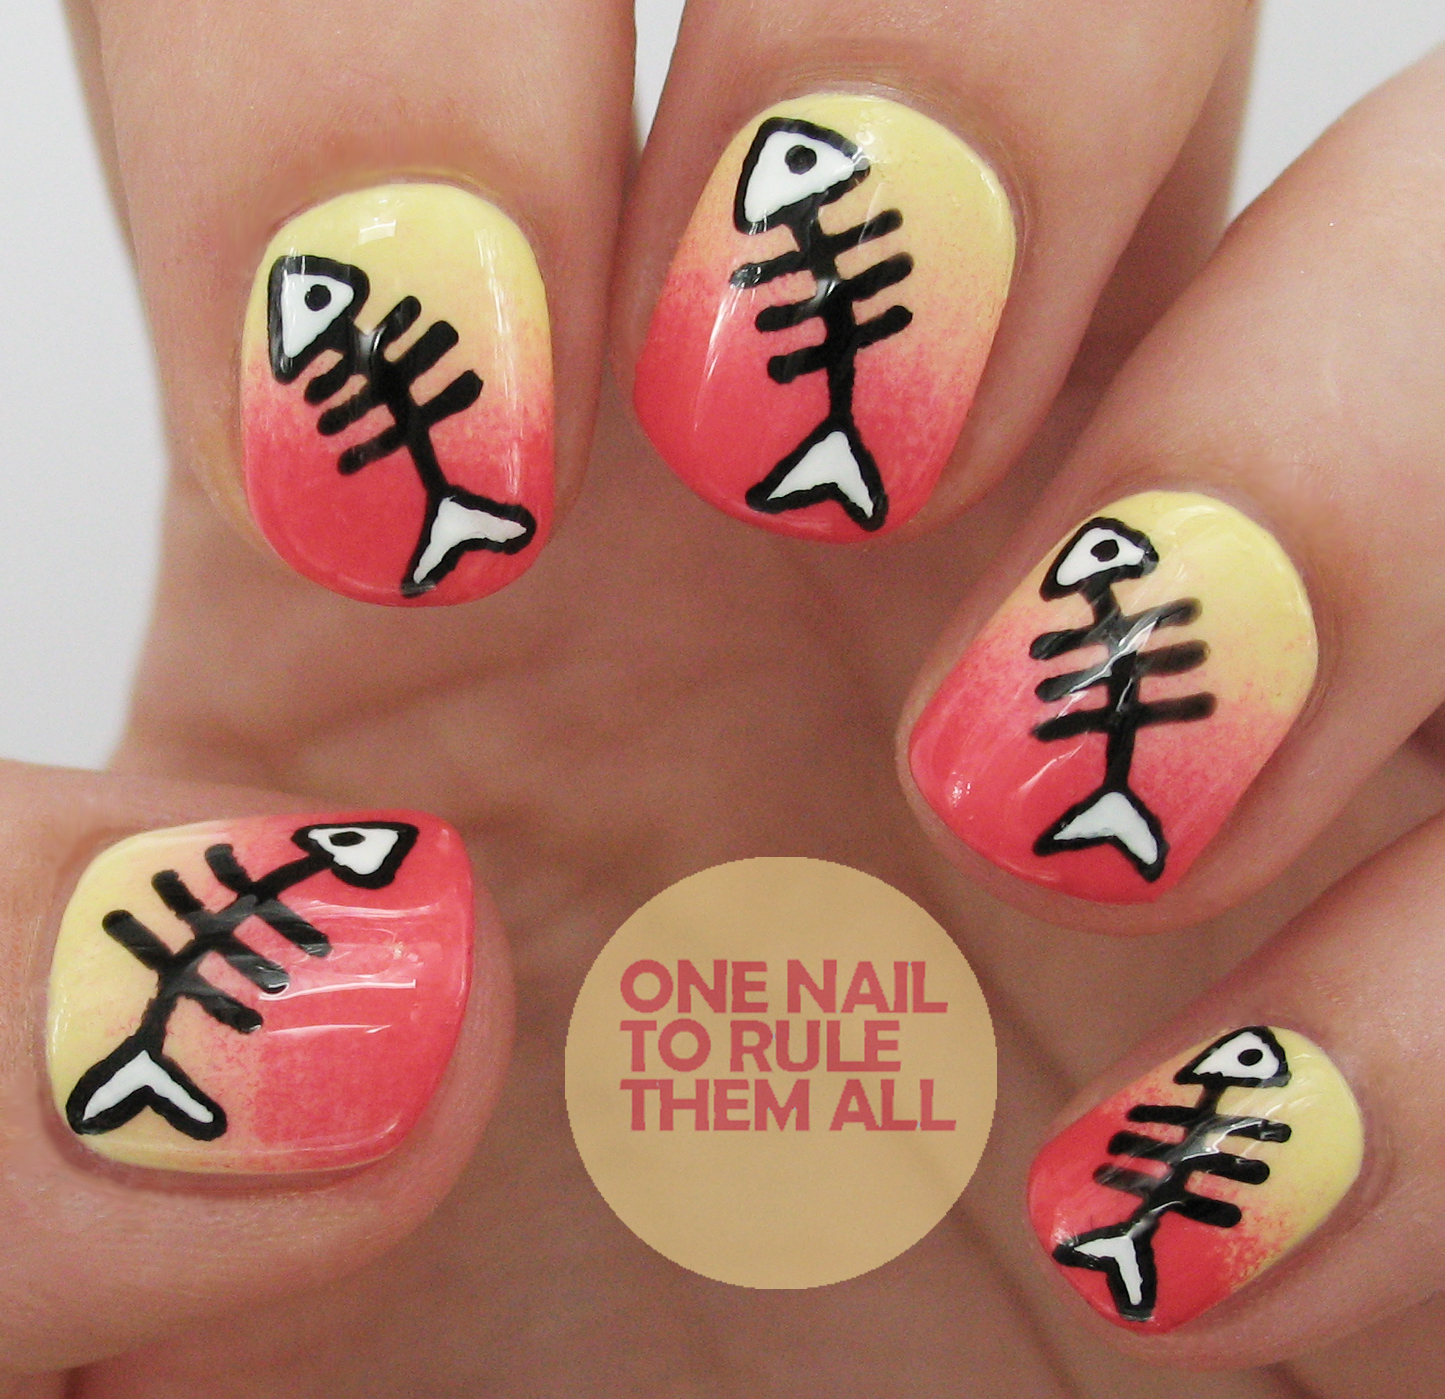
Hey everyone! Sorry for the gap in posting, I'm becoming an awful blogger and I hate myself for it. Today's post is another tutorial I did for
Licila using
Rococo - Flower Child, the gorgeous yellow that so many of you drooled over in my
Rococo swatch post, and also
Rococo - Hip-Hop, with the additional use of
Barry M nail art pens, as you shall see in the tutorial. This design was inspired by a picture I saw on WAH Nails
Instagram a few months ago, if you dig around you can probably still find it.
Step 1: Paint your nails yellow
Step 2: Do a gradient using a make-up sponge, see Sammy's tutorial
here if you're unsure how to do gradients
Step 3: Using a black Barry M nail art pen, draw the outline of the fish. Start with the head by drawing a triangle, and then do the backbone coming down, then draw the fins, and then add the ribs
Step 4: Using white polish and a thin brush, colour in the fins and the head
Step 5: Using a black Barry M nail art pen draw the eye of the fish
Step 6: Finish off with a topcoat to seal in your design, and you’re done!
What do you think?
Let me know in the comments!
Alice
Hey everyone! Today's nail design was one of my original designs for the beauty and the beach competition, but I felt that it didn't quite make the cut. Nevertheless, I wanted to share it on my blog because it's still a design that I've done and this blog is a document of my designs. I have a couple more still to show you too which should be up in the next couple of weeks.
I'm not sure of the exact colours I used, but I know that the base is OPI - Gargantuan Green Grape, probably with Barry M - Yellow sponged on top, and then Barry M - Blueberry for the sea. But I do know that the black is the
black Barry M nail art pen, and the silver is
Clinique - Strappy Sandals
What do you think? Let me know in the comments!
Alice