Some of you might recall the anchor nails I did a while back:
Evidently this picture turned out to be one of my most stolen pictures. I constantly find it on fashion Instagram pages and such. Anyway I was asked to make a tutorial for the anchor so that's what I have for you today.
Step One:
Paint your base color. For this tutorial I used China Glaze That's Shore Bright.
In my original design I used Essie First Timer.
Step Two:
Start your anchor by painting a small circle. This will the the top of your anchor.
Step Three:
Make a thin line straight down from the circle.
Step Four:
Paint the sides of the anchor, make sure the bottom is relatively pointy.
Step Five:
Paint points on the end of the sides of the anchor.
Step Six:
Paint a short line, crossing the anchor around the middle.
Step Seven (kind of):
To complete the look add nails with polka dots and stripes. Glitter too! I used Essie Beyond Cozy in the original design.
Hope you like this. Let me know if you try, I'd love to see!
Picture to sum it all up:
Thanks for reading!
A week or so ago I posted these nails on my blog -
On Instagram I was asked to make a tutorial for the bow. It's honestly so easy to do but I did make a tutorial.
Without further ado,
Step One:
Very simple, paint a base color. I used Zoya "Gei Gei"
Step Two:
Use a dotting tool/anything else that can make a circle for the middle of the bow.
Step Three:
Paint two loopy shapes on either side of the middle circle.
Step Four:
Connect the bottom of the loops.
Step Five:
Fill in the bottom portion of the sides of the bow.
Step Six:
Paint the ends of the bow. Be sure the ends are pointed.
Here's a picture to sum it all up:
I definitely didn't invent this kind of bow so I don't take ownership of this design.
Let me know if you try this design!
Thanks for reading!
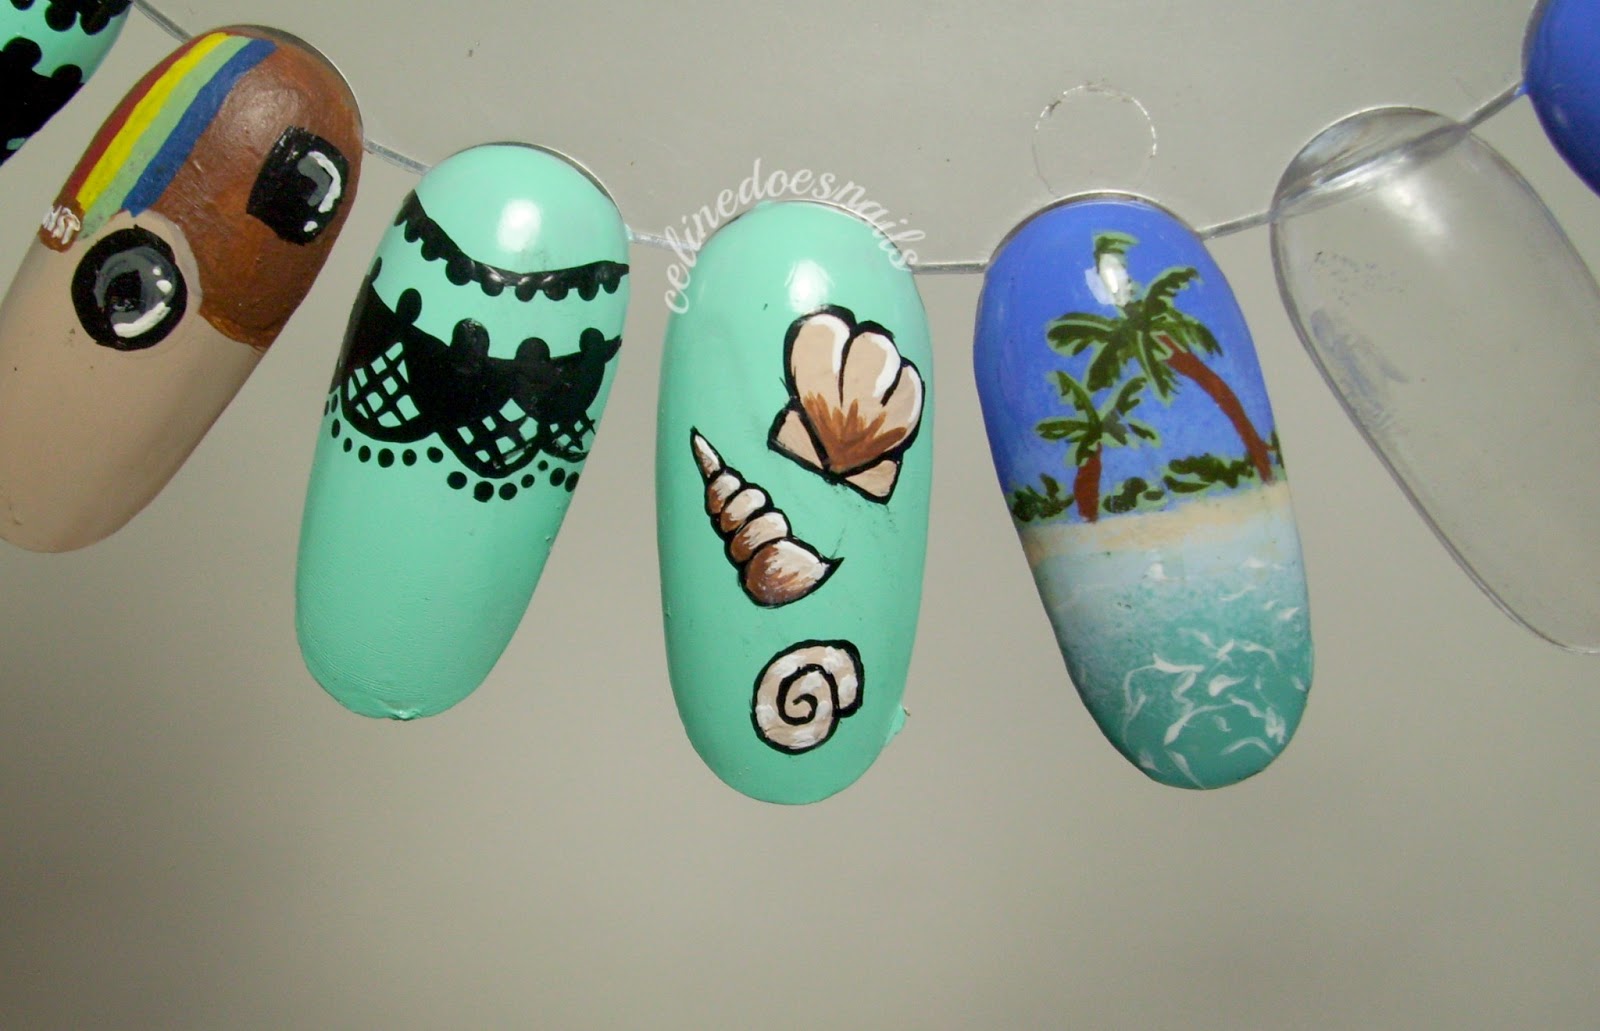
Hello everyone! Welcome to the last installment of my seashell pictorials.
This is the third and final shell and it looks a bit like this:
STEP ONE:
Use a thin paintbrush and black paint/polish to paint a circular pacman looking shape.
(spare me, it's 1:30 AM)
STEP TWO:
Fill in the inside of the shell with a tan paint/polish.
STEP THREE:
Re-outline the shell, be sure to make a swirl inside the shell with the black paint/polish.
STEP FOUR:
Paint thin, short strokes of white paint/polish inside the shell.
STEP FIVE:
Repeat step four but with brown paint/polish. Slightly overlap the two colors.
and that's it!
I hope this was something you guys enjoyed. I'm actually kind of impressed I actually got this all done. I'm kind of the laziest person EVER.
anyway if you guys try this please tag me! I would love to see!
Thanks for reading!
As previously stated, I made three pictorials on different types of shells.
Here is the second installation. This type of shell looks similar to this:
STEP ONE:
Start by using a thin paintbrush to paint the basic outline of the shell. Start at the bottom and make your way up.
STEP TWO:
Paint the inside of the shell with a tan paint/polish. I used a tan acrylic paint.
STEP THREE:
Re-outline the shell with black paint/polish.
STEP FOUR:
Use a darker brown paint/polish and shade in the side of the shell.
STEP FIVE:
Add highlights with a white paint/polish on the side opposite the dark brown.
Well that's it! Pretty simple! If you have any questions feel free to email me or comment below!
Here's a picture to sum it all up:
Thanks for reading!
As previously stated, I made pictorials for the shells I did in
this manicure.
I divided them up into three posts because it's a lot to take in.
Here's the first.
I'm not familiar with the types of shells but it looks like this:
STEP ONE:Paint a base color. I used Island Girl Surfer Babe.
STEP TWO:Using a thin paintbrush and paint/polish, paint a rectangle.
STEP THREE:Paint two lines down to the bottom center, kind of like an envelope.
STEP FOUR:Connect the lines from the previous step and paint the rest of the shell.
STEP FIVE:Fill in the shell with a paint/polish. I used a tan acrylic paint.
STEP SIX:Repaint the outline. Make sure to paint the pointy end at the bottom.
STEP SEVEN:
Using a darker brown paint/polish, fill in the bottom to add some shading.
STEP EIGHT:
Lastly, add some highlight by painting thin white lines against the outline of the shell.
Hope this was helpful! If you have any questions, feel free to ask!
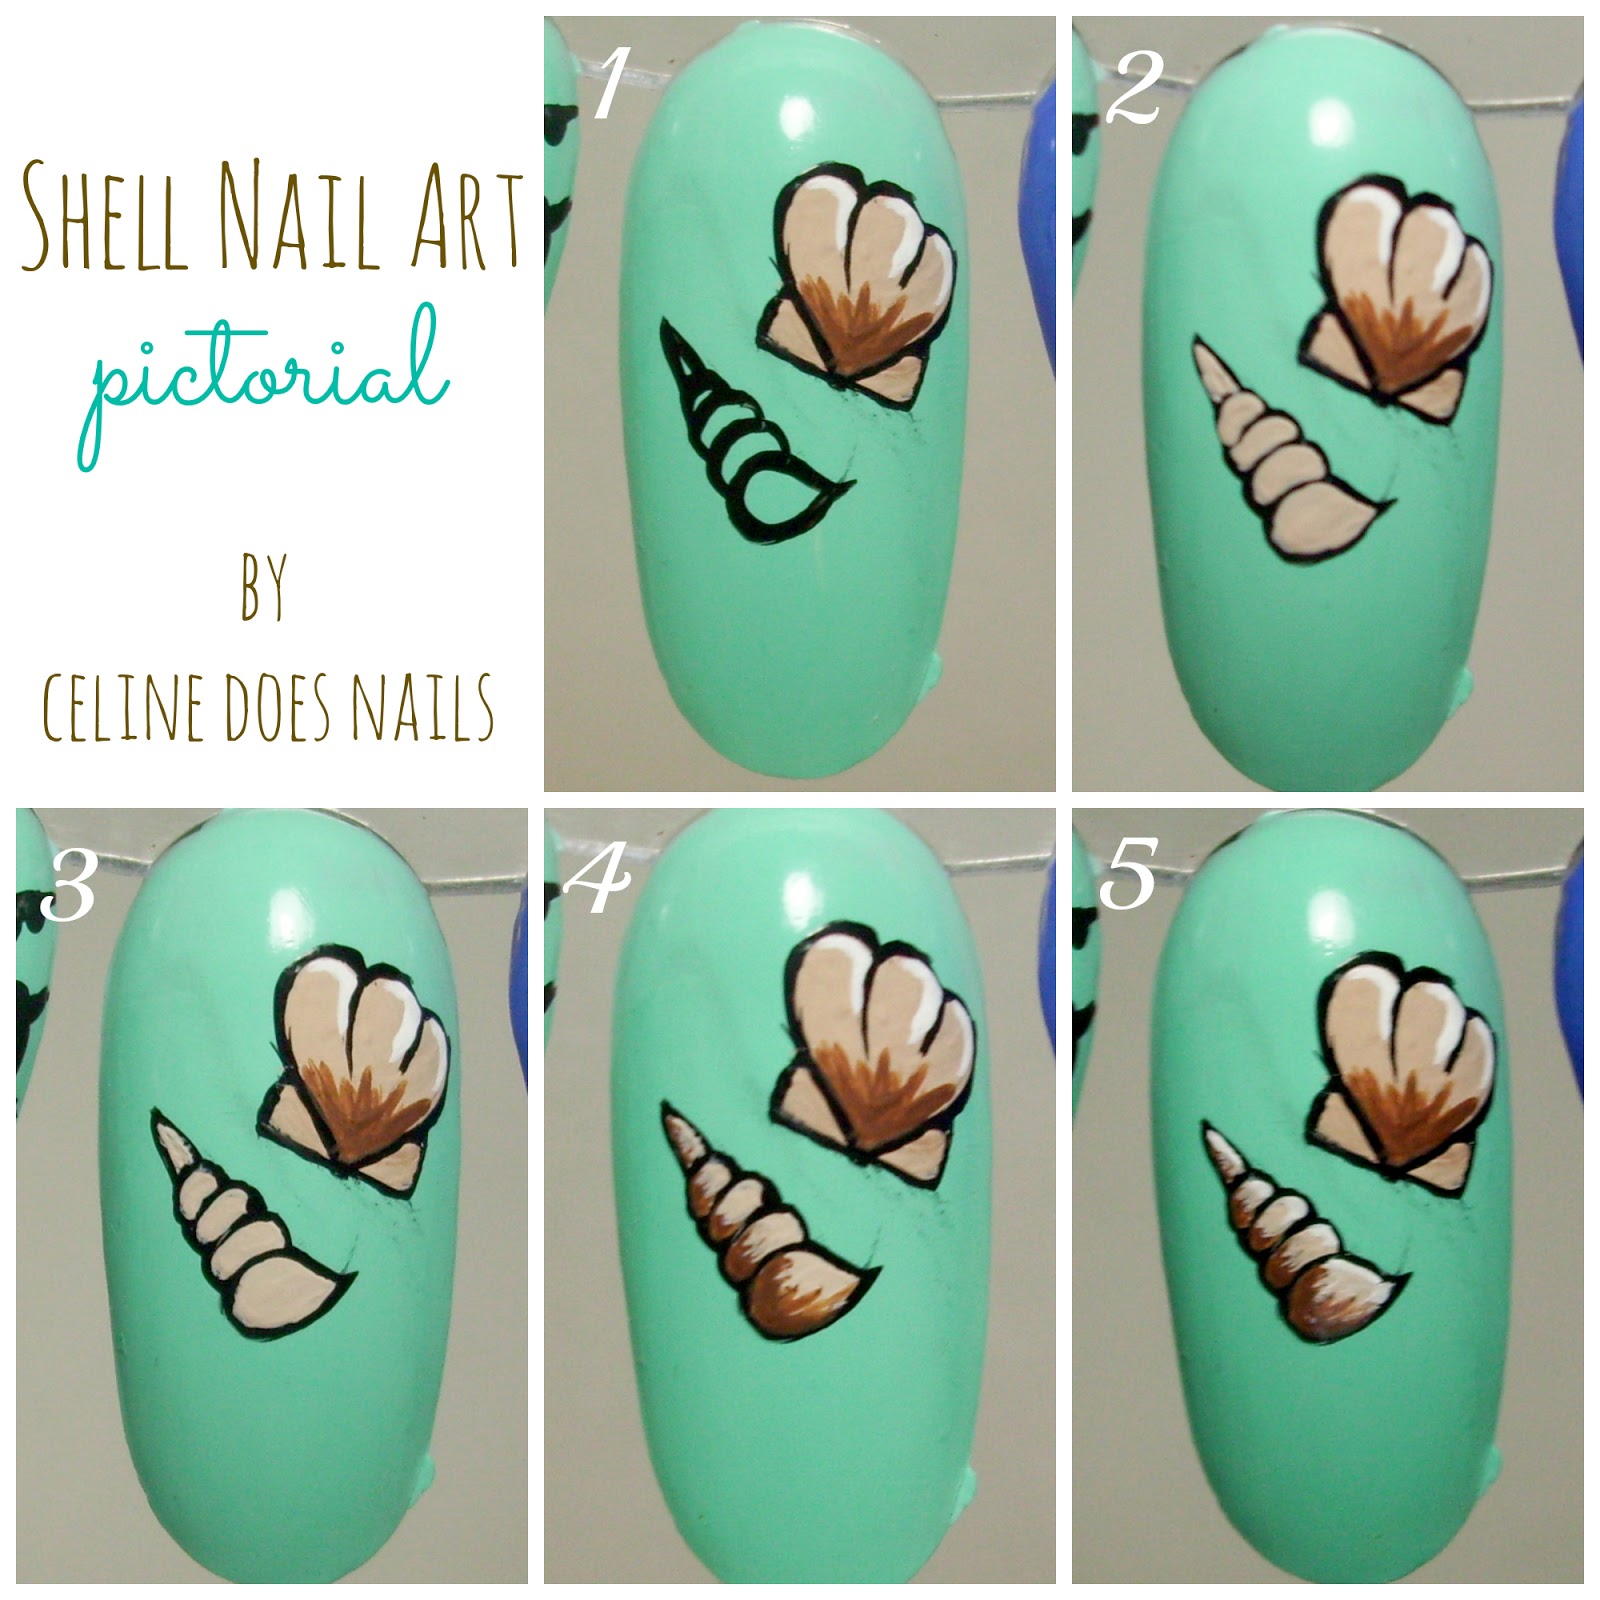
Here's a simple pictorial just to sum it all up:
Thanks for reading!
As you might recall, yesterday I posted these nails.
As I mentioned, I did make a pictorial for the anchor, so here we go.
I used this picture for reference. You may find it helpful to look at this while doing your nails.
STEP ONE:
Paint a base color. I used OPI My Boyfriend Scales Walls
STEP TWO:
Using a thin brush, paint almost a cross shape. This is the basis of your anchor.
STEP THREE:
Add the circles at the top and the hooky things at the bottom.
(wow that was the worst explanation ever. Hopefully you know what I mean)
STEP FOUR:
Paint thin lines in to add shading. They don't have to be perfect.
STEP FIVE:
This is where I begin to paint the roses. It's difficult to show, so
this video is extremely helpful and is exactly how I do my roses.
STEP SIX:
Paint leaves with a light green.
I believe the video in the link above shows how to do leaves as well, but I included them in my steps anyway.
STEP SEVEN:
Paint darker green inside the leaves.
STEP EIGHT:
Add the different colors into the roses (again watch the video, I'm serious)
Topcoat your design and you're done!
I really hope you guys try this!
Here's a simple version:
♡Celine








.jpeg)


