Zoya Tomoko Swatch & Review

I was so surprised to discover that I almost have 20 Bloglovin followers! -And almost 10 GFC followers!- I know that doesn't seem like a lot, but for a relatively new blogger, the fact that people like my blog, and actually read it, is awesome! So thank you!

OK, now that I'm done being a mushy mess :P, it's time for another Swatch & Review! This weeks polish is a newbie to my collection. -I know I said I was going to swatch more polishes already in my collection, but now that I have a paycheck, I can't help but buy more!- I bought this polish during my Ulta shopping spree, (Which you can read more about, and see what else I bought, here.) and I have been dying to share it! I am officially a Zoya fan. I have two of their shades, and they are in my top five favorite nail polishes -Ooh, that's a good post idea...-. I love the coverage, the shades, and even the bottles! I have to get more!

Zoya Tomoko - $8

I picked up the shade Tomoko. Which is a thin gel-like formula, a bit thinner than my Zoya Faye. It has a clear base, and densely packed champagne colored glitter particles. I love the super shimmery look, and I especially love the champagne color. I did not have this color, so I was so happy to add this shade to my collection! I also love that the mix of champagne color and strong glitter gives a nice sophisticated look. The dense glitter doesn't come off as childish in any way. Impressively, the glitter is so dense that it actually gives the polish a textured look and feel.

Close up of Zoya Tomoko
The brush is slightly domed, and a bit on the small side. But it applied color nicely around my cuticles, so no complaints.
Can I just talk about how much I love Zoya's bottles for a second. Not only do I love the look and unique shape of their bottles, I love how ergonomic the caps are. The cap is comfortable to hold, as well as easy to open. I like how it has a grip to it, unlike other polishes. Many of the polishes in my collection have teeth marks on the caps from me trying to open them!

Zoya Tomoko under Lamp.


Zoya Tomoko with flash.
Sadly, I don't have a swatch in sunlight to show you today, the weather wouldn't agree with me.

Because the polish is on the sheer side, I used a white polish as my base, then I used four coats of Tomoko for complete opacity. Once it was dry, I finished it with a coat of my Revlon quick dry top coat.
Again, I can't say it enough how much I love this polish! I love how elegant it looks, and how well the formula covers. I also had minimal chipping, which is always a bonus!

Surprise mini swatch!


I also bought a matte topcoat during my Ulta trip, and couldn't resist testing it with my Zoya Tomoko. I like the juxtaposition of glitter and matte. So I decided to do a review in a review! 

Essie Matte About You top coat under lamp.


Essie Matte About You Top Coat with flash.
To use Essie Matte About You, you just skip the top coat, then apply a coat of it over any polish. I applied it over Zoya Tomoko to matte the strong glitter. It made the glitter pretty matte, but left some of the sheen. I think it came out really nice. It's a bit hard to tell in the pictures, but it really toned down the glitter, and let the beautiful champagne color, and interesting texture, stand out. It almost looks like a liquid sand polish.
I have so many design ideas for this matte polish! I'm so glad I bought it. As I mentioned in my recent haul post, I've been hunting for a nice matte top coat for ages now, and finally the hunt is over!
Matte About You is a milky color, with a thick jelly-like formula. It doesn't create a matte finish instantly, it slowly turns matte after a few seconds. While it was so hard to skip my top coat, I really love the matte effect.
The only problem is that the nails with the matte top coat chipped much more than the nails with my regular Revlon top coat. They chipped after only a couple hours! But it's worth it to have the effect. But, if it continues to chip easily, I may have to find a different brand. Time will tell!

Thanks for reading! To read my previous Swatch & Reviews, click here.
-xo Brittany

Would you add Zoya Tomoko to your polish collection? Can you recommend a good matte top coat? Let me know in the comments!

Follow on Bloglovin

Metsästäjän kukat


Vähän kukkia pimeyden keskelle. Tässä lakkauksessa on pohjana kaksi helppoa kerrosta, kaunista metsänvihreää, Zoya Hunter -lakkaa*. Nämä Zoyan syyskokoelman lakat eivät kyllä lakkaa ihastuttamasta! Todella kaunis tumma ja hiukan murrettu vihreä sävy. Ainakin omaa silmää miellyttää. :) 

Zoya Hunter

Koristelin Hunter-lakan Adeninalta saaduilla ruususiirtokuvilla (kai nuo ovat ruusuja?) ja kimaltavilla vaaleankeltaisilla "koukeroilla". Koukerot ja satunnaiset pilkut tein keltaisella Zoya Piafilla, ohutta nail art -sivellintä apuna käyttäen. Piaf taas on tämän vuoden kevätkokoelmasta, jonka ostin turvaan kauneusmessuilta. Oli tarkoitus laittaa kaikkien kukkien keskelle pienet pilkut Piaffilla, mutta se näköjään vähän unohtui, heh... Lopuksi kaiken päälle kerrokset Inm Out the Door pikakuivattavaa päällyslakkaa ja tämä aikas helposti toteutettava lakkaus oli siinä. :) 

...Pitää muuten muistaa hankkia lisää jotain hyvää pikakuivattavaa jostain. Alkaa olla kaikki Seche Vite varastotkin käytetty loppuun. Mitkä muuten ovat teidän luottopikakuivattajanne ja mistä ne hankitte? :)


Zoya Piaf, Zoya Hunter ja siirtokuvia / kynsitatuointeja


*Hunter saatu NailCityltä, siistokuvat Adeninalta

Butter LONDON Colour Clash Collection, Autumn/Winter 2013

Hey everyone! I'm so excited to show you today's post, because I have a review of the absolutely gorgeous Butter LONDON Colour Clash collection. It's been a few months since I reviewed any Butter London polishes, and I'd almost forgotten how consistently amazing they are. I must admit I'm surprised that this is an autumn/winter collection, as they're very bright and colourful, and would probably be more suited to a summer collection. Nevertheless, I must admit I'm glad for a bit of brightness in amongst all the browns of autumn. The full review will be after the jump otherwise it may end up a bit long!


First up we have Giddy Kipper*, which is what can only be described as a 'blurple', or the more technical term, indigo. Unfortunately my camera failed to recognise that and decided it was just plain blue instead. Butter LONDON describe this as an 'opaque indigo shimmer', which works quite well, because in my mind shimmers aren't usually that opaque, and this certainly is. This was 2 very easy coats, no topcoat.


Next is Cake-Hole*, described by Butter London as 'an opaque, nearly neon pink crème'. However, I wouldn't say this is 'nearly neon' as it's definitely neon, as can be seen by the issues my camera had with focusing on its brightness! This was 2 easy coats (in that sense I guess it's very unlike a neon) and as you can see it dries almost matte, which I really like, but you can always add a topcoat if you prefer.


Next is Cotton Buds*, and I'm just going to say it straight out, this is the best white ever. Application is so easy, and it was completely opaque in just 2 coats. This is without topcoat. I love this so much!


Next we have Wellies*, an amazingly bright green. This is described as a 'green grass creme' by Butter LONDON but I think it's probably a bit too yellow to be reminiscent of grass. This was 3 coats, but I was definitely being over-cautious, you could easily get away with 2. 


Next is Silly Billy*, an 'opaque, fire orange creme' as Butter London describes. I love this colour, but I found application to be a bit tricky. I definitely would not call this polish a creme, it's more like a jelly. This was 3 coats without topcoat


And last but certainly not least is Pimms*. I saw a lot of yellows making an appearance in summer collections this year, and I'm certainly glad to see one in an autumn/winter collection too. I'm not a wearer of yellow polishes alone, but I'm certainly a fan of how they look. This was an incredibly easy 2 coats, without topcoat


Overall, I'm very impressed with this collection. The quality is excellent, and the colours are all absolutely amazing! What do you think? Let me know in the comments
Alice

Rio Original Nail Art Pens Review

Hey everyone! How are you all? I'm so excited to have a week off uni! Although, I have 2 essays to write, so maybe it's not so much a week off, but at least I get to see my family and friends for a bit. Anyway, today I have a review of the Original Rio Professional Nail Art Kit. The kit includes 8 colours: white, red, yellow, blue, black, dark green, silver and a metallic pink. It also comes with a bag of rhinestones, a pot of gold glitter, a full bodied brush, an instruction book, and a step-by-step DVD. As you can see the box is full to the brim with stuff, so you're definitely getting a lot for your money. I decided to just review the pens, but perhaps one day I'll use the rest too! I decided it would be better to review each pen separately and then I'll give my overall views at the end.


Black pen: Good consistency, opaque and comes out easily
Yellow pen: Much better consistency than I was expecting, nearly as opaque as the black and not too blobby when coming out
White pen: Opaque but a bit too free-flowing, meaning it blobs a bit. Although, this may just be my bottle, and if not, putting it in the fridge often helps
Green pen: Opaque, great consistency, easy application (as in, it doesn't come out quickly) same as the black
Pink: Much too free-flowing and as a result it was difficult to control. Also, not very opaque as it's a shimmer polish, this was probably my least favourite of the bunch
Red: Opaque, although less creme that the others, but free flowing like the white
Silver: Not as opaque as I was hoping for, free-flowing but manageable
Blue pen: Exactly the same as the green and black

The base for these nails was 2 coats of the gorgeous NYC - Raindrop (which seems to now be called Blue Sky), and Nicole by OPI - Spring Break, with a coat of Barry M - Crystal Glaze topcoat on the latter. The design is all topped off with a coat of Seche Vite


What do you think? Let me know in the comments!
If you're interested in buying this set you can find it on their website here although the pink seems to have become purple. You can also find them on Facebook here 
Alice

Skoshbox Review

November 2013


Today I decided to break away from my busy schedule of sitting and drinking Dunkin' Donuts eggnog latte's, to bring you yet another Skoshbox review! If you are not sure what Skoshbox is, check out my first review (here), where I go into further detail. But basically it's a monthly subscription box that sends me snacks and candy from Japan.
Now let's see what I got this month! -Like always, I made my mother and brother try everything too, so I will share their thoughts and feelings also.-

Sidenote: I wasn't kidding about the eggnog latte's. I've already had three in three days... I might have a problem... But who cares! They're just too yummy!


This month's box was pretty good. Nothing was really broken upon delivery, and most of the snacks were pretty tasty. I say most because of one unpleasant surprise snack I was not keen on trying. - Hint, it's the gold wrapped one in the above picture.-


First up is Pretz Salad: Biscuit sticks lightly dusted with seasoning.
Pretty good. It has a very zesty salad dressing flavor, with the texture of a cracker. I liked the savory flavor. They look like thin crunchy french fries. I don't think I could eat them everyday, but they would be a good "once in a while" snack.
Sakuma Drops: The iconic hard candy that's featured in "Grave of the Fireflies".
I have no clue what "Grave of the Fireflies" is, but the candy tasted like cough drops. They are also oddly sticky, they stuck to my teeth -Ew.-. They had a slightly fruity scent, but I could not pinpoint what kind of fruit. No flavor at all. Just bleh. Also my flavor processing was hindered at this point because I had just tried the item in the gold wrapper I mentioned earlier, and I was still a bit shaken up...
Fujiya Lollipop: The original fruit version of the soda pops in our previous boxes.
I hated the soda pops, so I had no faith in this lollipop being good. Frankly it tasted like a cough drop -Again, do they think I have a cold or something?-, with no fruit flavor what-so-ever. Only my brother liked this one.


Yakiniku/Unagi Strips: Jerky strips in grilled eel or beef flavors. Freaked out?
Yes, yes Skoshbox I was freaked out! Of course I received the eel flavor...bleh... The second I opened the package all I could smell was the strong scent of dead fish. Disgusting. I was quite nauseated. I tried the smallest bit and it nearly brought up my lunch. -Sorry for being too descriptive, but no words can explain how gross this was to me.- My mother wasn't having it, and would not even try it. I don't blame her... My brother ate it, and said he thought it wasn't bad... NO.
Yuki No Yado Senbei: Light fluffy rice crackers drizzled in sweet frosting.
I love Skoshbox's Senbei crackers, and I love frosting, so this was an obvious win. It still had the slight salad dressing flavor of the past senbei crackers, just mixed with frosting. Weird yes, but super yummy. I loved the mix of sweet and tangy. It's like if you mixed Italian dressing with toaster strudel frosting... OK, it sounds gross, but I swear it was delicious. Everyone involved was a fan.
Bisco Snack: In original or strawberry, a kids snack because of its softness.
While the package creeped me out - Why is there a disembodied face on it?-, it was pretty good. I loved the scent of strawberry. and the wafer texture was nice. My mother and brother thought it tasted like a less artificial strawberry Poptart. But to me, the strawberry flavor was more similar to a strawberry milkshake.


Fruit Gummies: In orange or grape. Firm, chewy, and full of flavor.
 I received the grape flavor. I am not a fan of gummy candy, but I gave it a shot... I am still not a fan of gummy candy... It smelled like kid's grape flavored cough syrup, and I couldn't get past the odd mushy texture. My brother loved them, of course. My mother wouldn't try them, and again, I do not blame her. -She has good judgement.- 
Choco Pie: Cake with marshmallow filling and chocolate coating.
The second I read chocolate, I knew I would like this one. And, what do you know?! I loved it. It tasted like those Pinwheel dessert snacks. And the cake was very similar in texture to a Hostess cake. Everyone loved it, but I feel it is just too similar to desserts I can get in the states to be too interested in it. I want to try snacks I Can't get in the states!
Hanatsumi Jelly: Kanten jelly candy, firm and mildly fruity/sweet.
I unfortunately cannot share my snarky comments for this item, because I did not receive it! So I will never know if I would have liked it or not. But frankly, seeing that I am not a big fan of "jelly" candy, -Jelly nail polish on the other hand? Yes please!- I would say probably not...


And finally, my stationary gift!
Origami: The art of folding paper into beautiful objects like flowers, animals, and boxes.
I love the cute little animals on the cover. -I love packages in Japan! Everything is so colorful, with cute little characters on it.- But the instructions on the back were impossible! It was like I was trying to build a laser or something! But if you follow me on Istagram - Link on the right.- Then you saw I have already showed off a crane I made using the paper - Thanks YouTube!-.

All in all, I think while I have had better boxes in the past, this box was really good, and I enjoyed most of the snacks and candy I was given. Just next time, I will skip over anything with the word eel in it...

Thanks for reading! To check out my previous Skoshbox reviews, click here.
-Brittany

If I had to pick a favorite snack from this month's box, I'd pick the Bisco Snack, I love the strawberry milkshake flavor. What snack would you like to try from this month's box? Let me know in the comments below!

Follow on Bloglovin

A Mani for Zara Manchester's Launch Party: Leopard Print Curtains

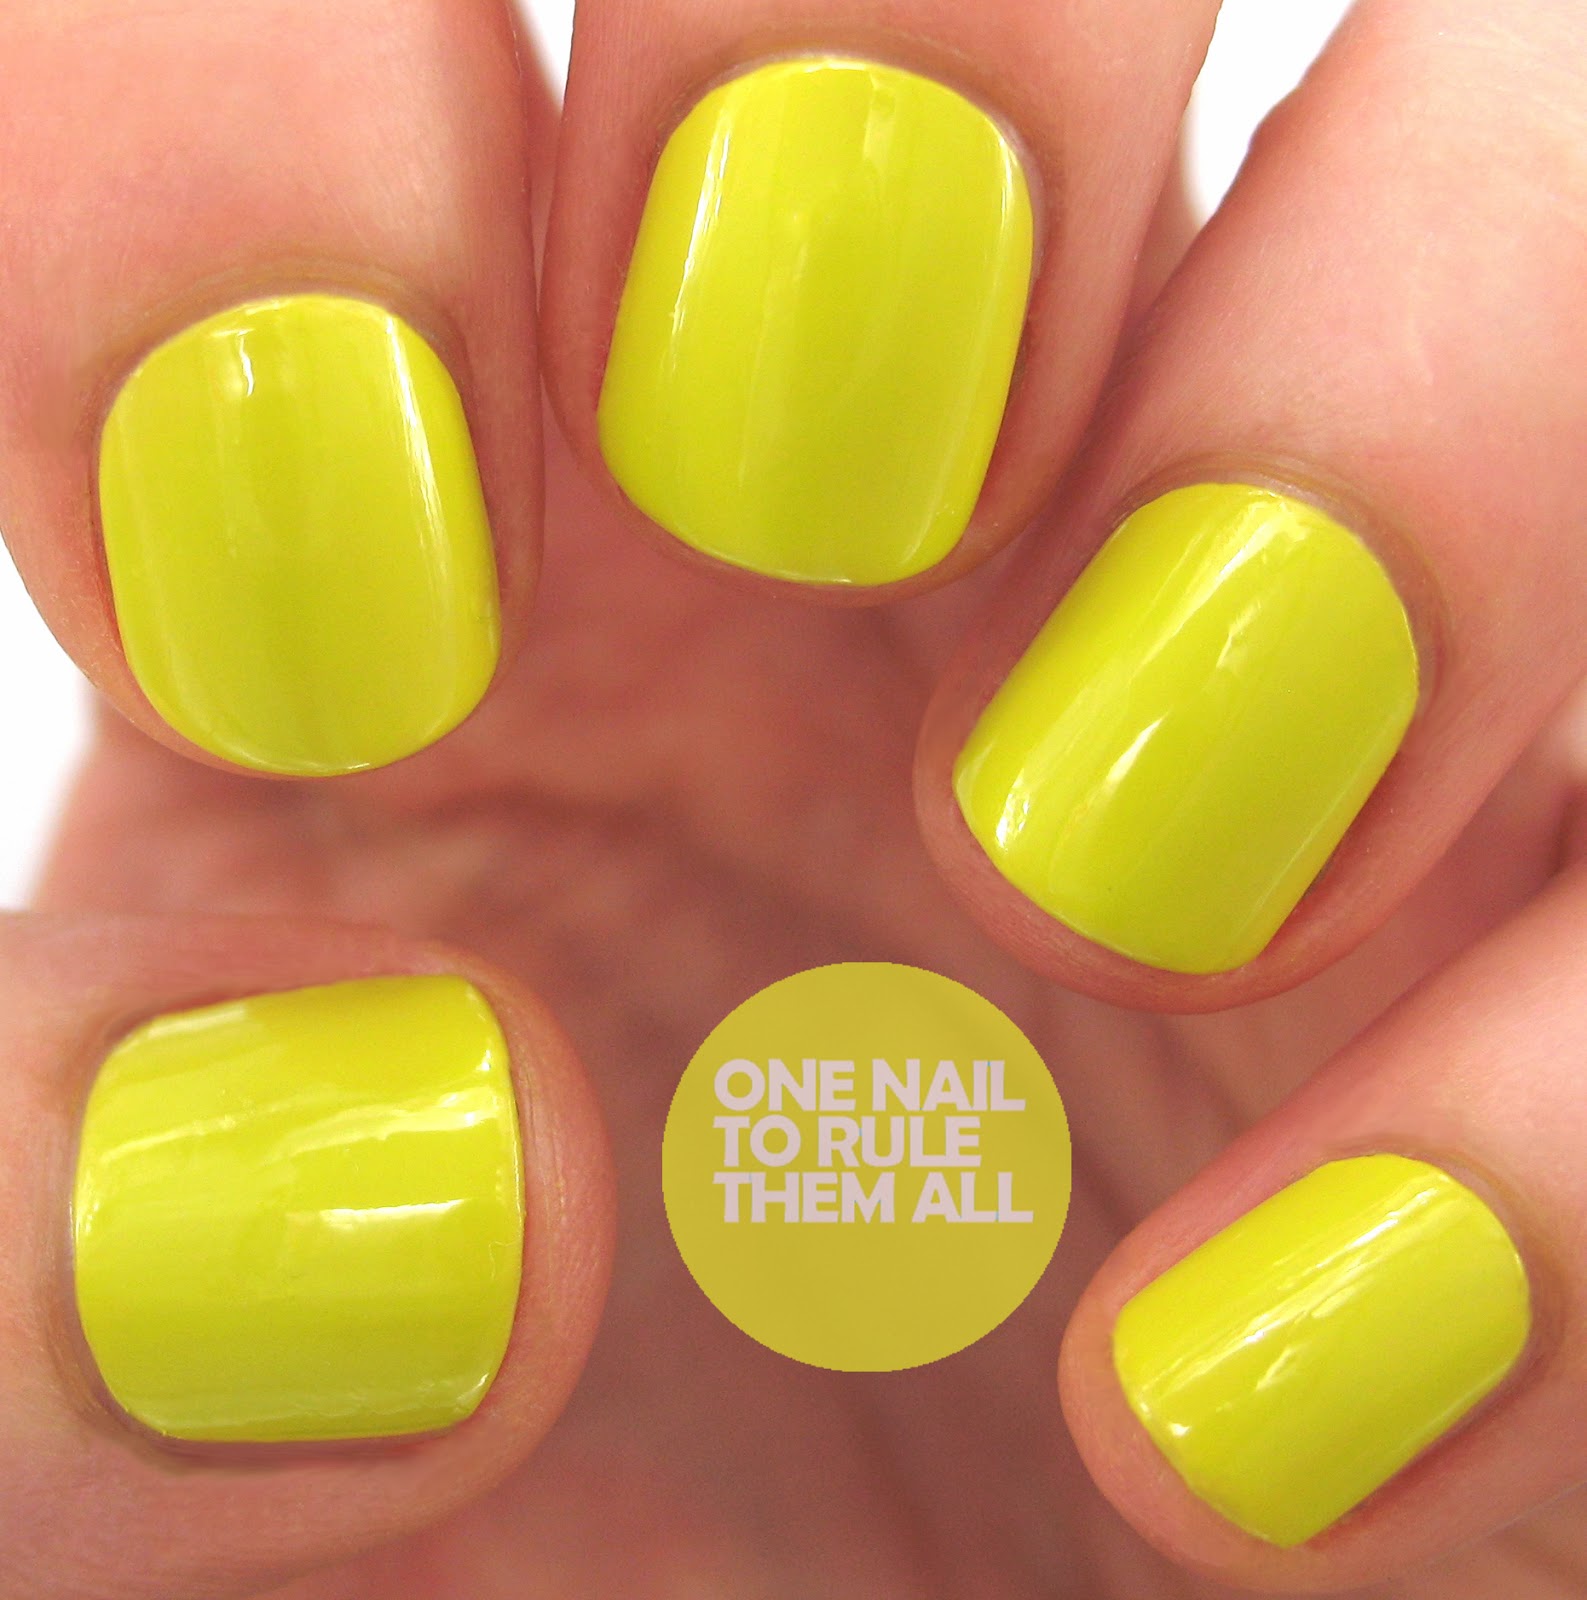
Hi guys. Tonight I'm going to the relaunch party of Zara in Manchester, so I really wanted to create a striking, sparkly design that's easy enough to replicate on my Cinderella hand. I'm a bit of a sucker for coordination as well, so I wanted my mani to match my new bag. If you follow me on Instagram or Twitter, you probably know that I turned 24 on the 3rd November, and I received the most beautiful handbag from my long-suffering boyfriend. I'll show you it at the end of this post! Anyway, I took inspiration from the wonderful One Nail To Rule Them All and created my own version of her Rose Curtain manicure, swapping the florals for leopard print. Oooh, I should probably also mention that Mum and Dad got me a camera for my birthday too - it's the Panasonic Lumix DMC-XS1 and it's bloody marvellous. Hopefully you will be able to tell the difference between the following photos and my previous iPhone pictures!

The equipment:

No. 7 'Beanie'
No. 7 'Gold Glitter'
Models Own 'Bare Beauty'
Barry M black nail art pen
Essie 'Good To Go'
Essie 'Matte About You'

I used 'Beanie' as a base, and applied two coats to each nail. It's pretty much identical to Sinful Colors 'Mushroom', but I prefer the No. 7 version as it reaches opacity much more quickly. Once dry, I topped my index finger and ring finger nails with a gold glitter top coat. I'd never tried No. 7 glitters before receiving a few for my birthday (I should probably stop mentioning my birthday), but I'm really impressed and won't hesitate to repurchase. They're the perfect mixture of large and tiny glitter pieces, and they apply extremely smoothly without the need for any placement.
On my other nails, I used my new Barry M nail art pen (yep, birthday again!) I've only used Models Own and Rio nail art pens in the past, so I was very excited to try Barry M's offering. Though you can't achieve the tiny details that are possible with Models Own pens, the application is very easy and the finish is really good. I was expecting to have to use striping tape, but the chunkiness of the bottle meant I felt confident enough to just freehand. 
In the gaps that my 'curtains' left, I dotted on Models Own 'Bare Beauty' and then added the finishing touches to the leopard print. I topped everything with 'Good To Go', but then decided to mattify my leopard print nails with 'Matte About You'. I really love a good old limited palette, so the combination of black, browns and gold really appeals to me. What's more, they perfectly match my bag...
What do you think? Wish me luck for tonight - it's Little Tip Off's first ever launch party! I'll keep my Twitter updated throughout in case anyone is interested. And please let me know if you happen to be going along too, I would love to meet you!

Tutorial Tuesday: Glitter Jellyfish

Hey everyone! Today I have a brand new tutorial tuesday for you, this time for some cute little glittery jellyfish. Don't forget to check out the tutorials tab at the top of my blog to see my previous tutorials! I've wanted to do jellyfish for ages, and I was really tempted to do them with needle dragging but I was in one of those 'it will probably fail so I wont even try' moods, and I'm quite glad because I like how these turned out. Perhaps I'll try needle dragging some time in the future instead. I'm starting to run out of ideas for tutorials, what would you'd like to see on future tuesdays? I only have a couple more tutorials left to post before I need to make some new ones, so any suggestions are welcome. Just don't ask for Christmas tutorials, I'm one of those spoil sports who doesn't even like the mention of Christmas before December begins. Anyway, the rest of the post will be after the jump! I've seen a few of you saying that you prefer it that way, as you can scroll through my blog much easier


The base for these nails was 2 coats of the gorgeous Orly FX - AquaPixel*, from the Pixel FX collection. As you can see in the difference in the photos above and below, topcoat transforms this polish, but it is also as equally as beautiful on its own. This polish is vaguely textured, but not to an extent that it's irritating. I really love this polish, and I think it really suits the underwater look too.


And now for the tutorial...

Step 1: Paint your nails with your base colour, preferably blue.
Step 2: Paint semi-circles in white, this can be either acrylic paint or white nail varnish, and fill them in for the top of your jellyfish
Step 3: Using a thin brush, paint wiggly lines down from the semi-circle for the tentacles
Step 4: Paint on eyes using a thin brush or dotting tool, I used acrylic paint but you can also use polish if you'd prefer
Step 5: Finish off with a topcoat to seal in your design

What do you think? Let me know in the comments!
Alice